Step-by-Step Guide: Creating and Managing Sub Accounts on Flex
In this quick guide, you will learn how to easily create sub-accounts, view their transaction history, and how to add/remove account assignees on the Flex Spend Management Platform
1. Creating a Sub Account:
(i) Log in to the Flex dashboard with admin permissions.
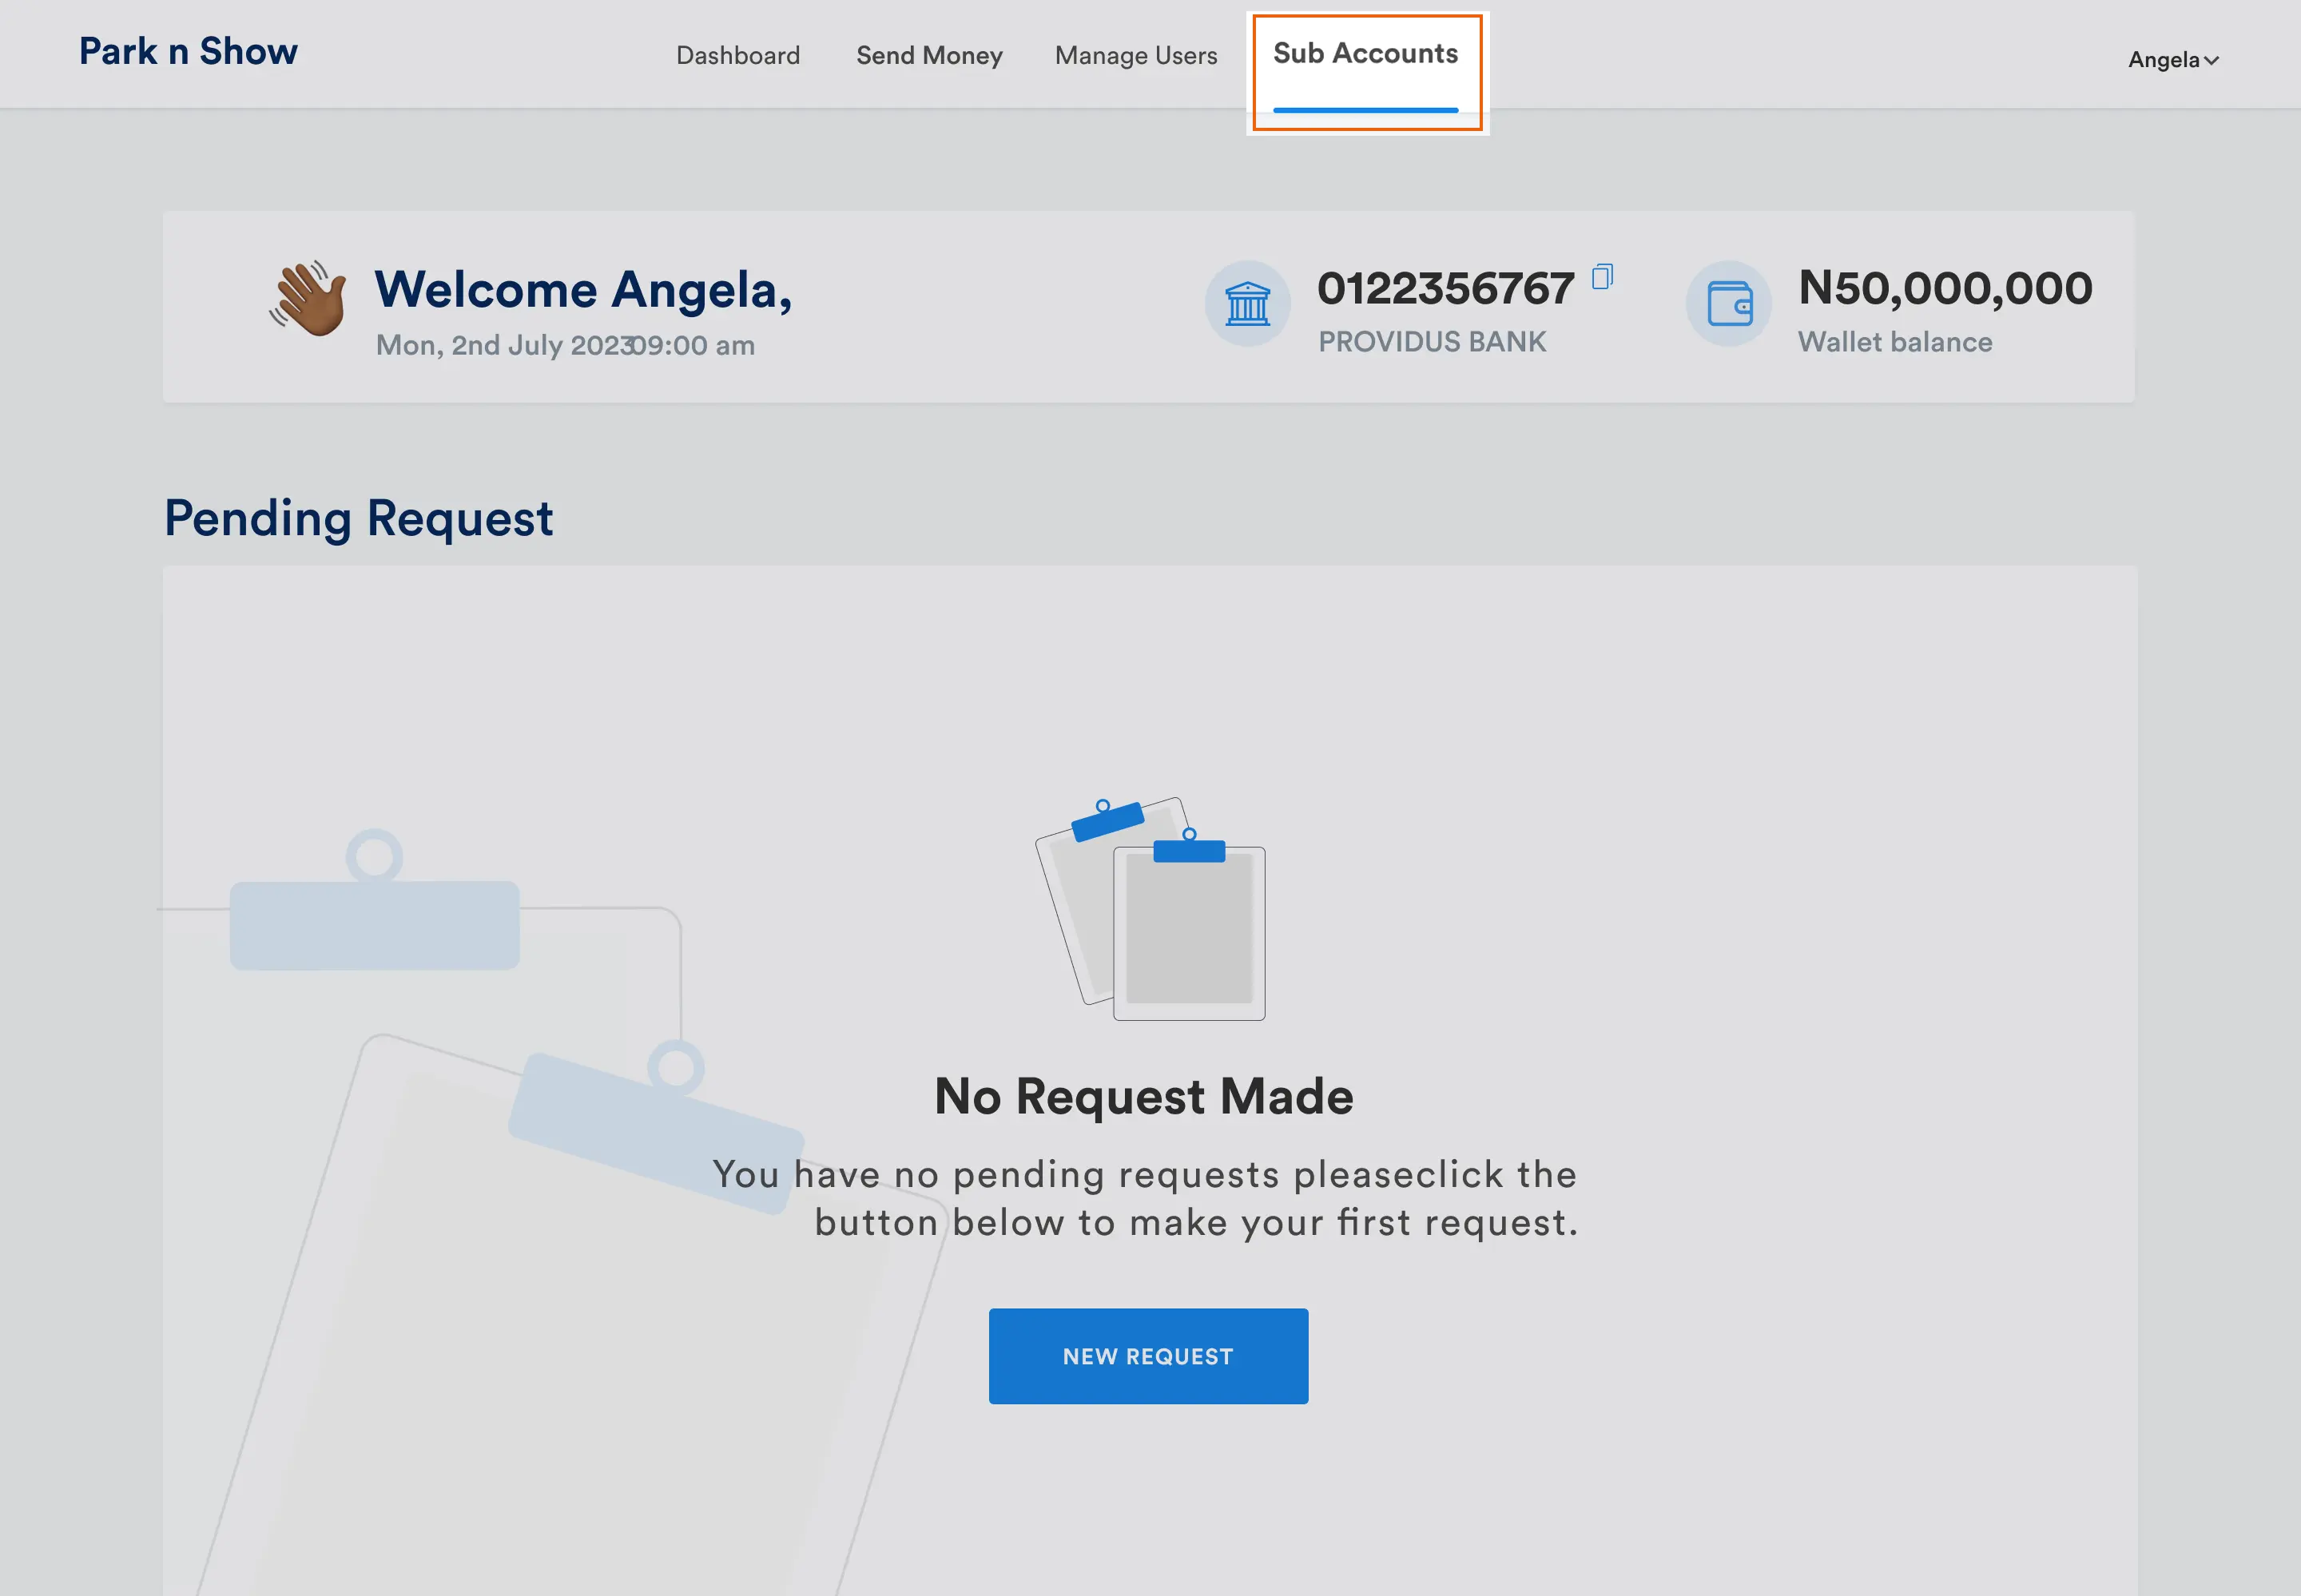
(ii) Navigate to the dashboard and select "Sub Accounts" from the navigation bar.
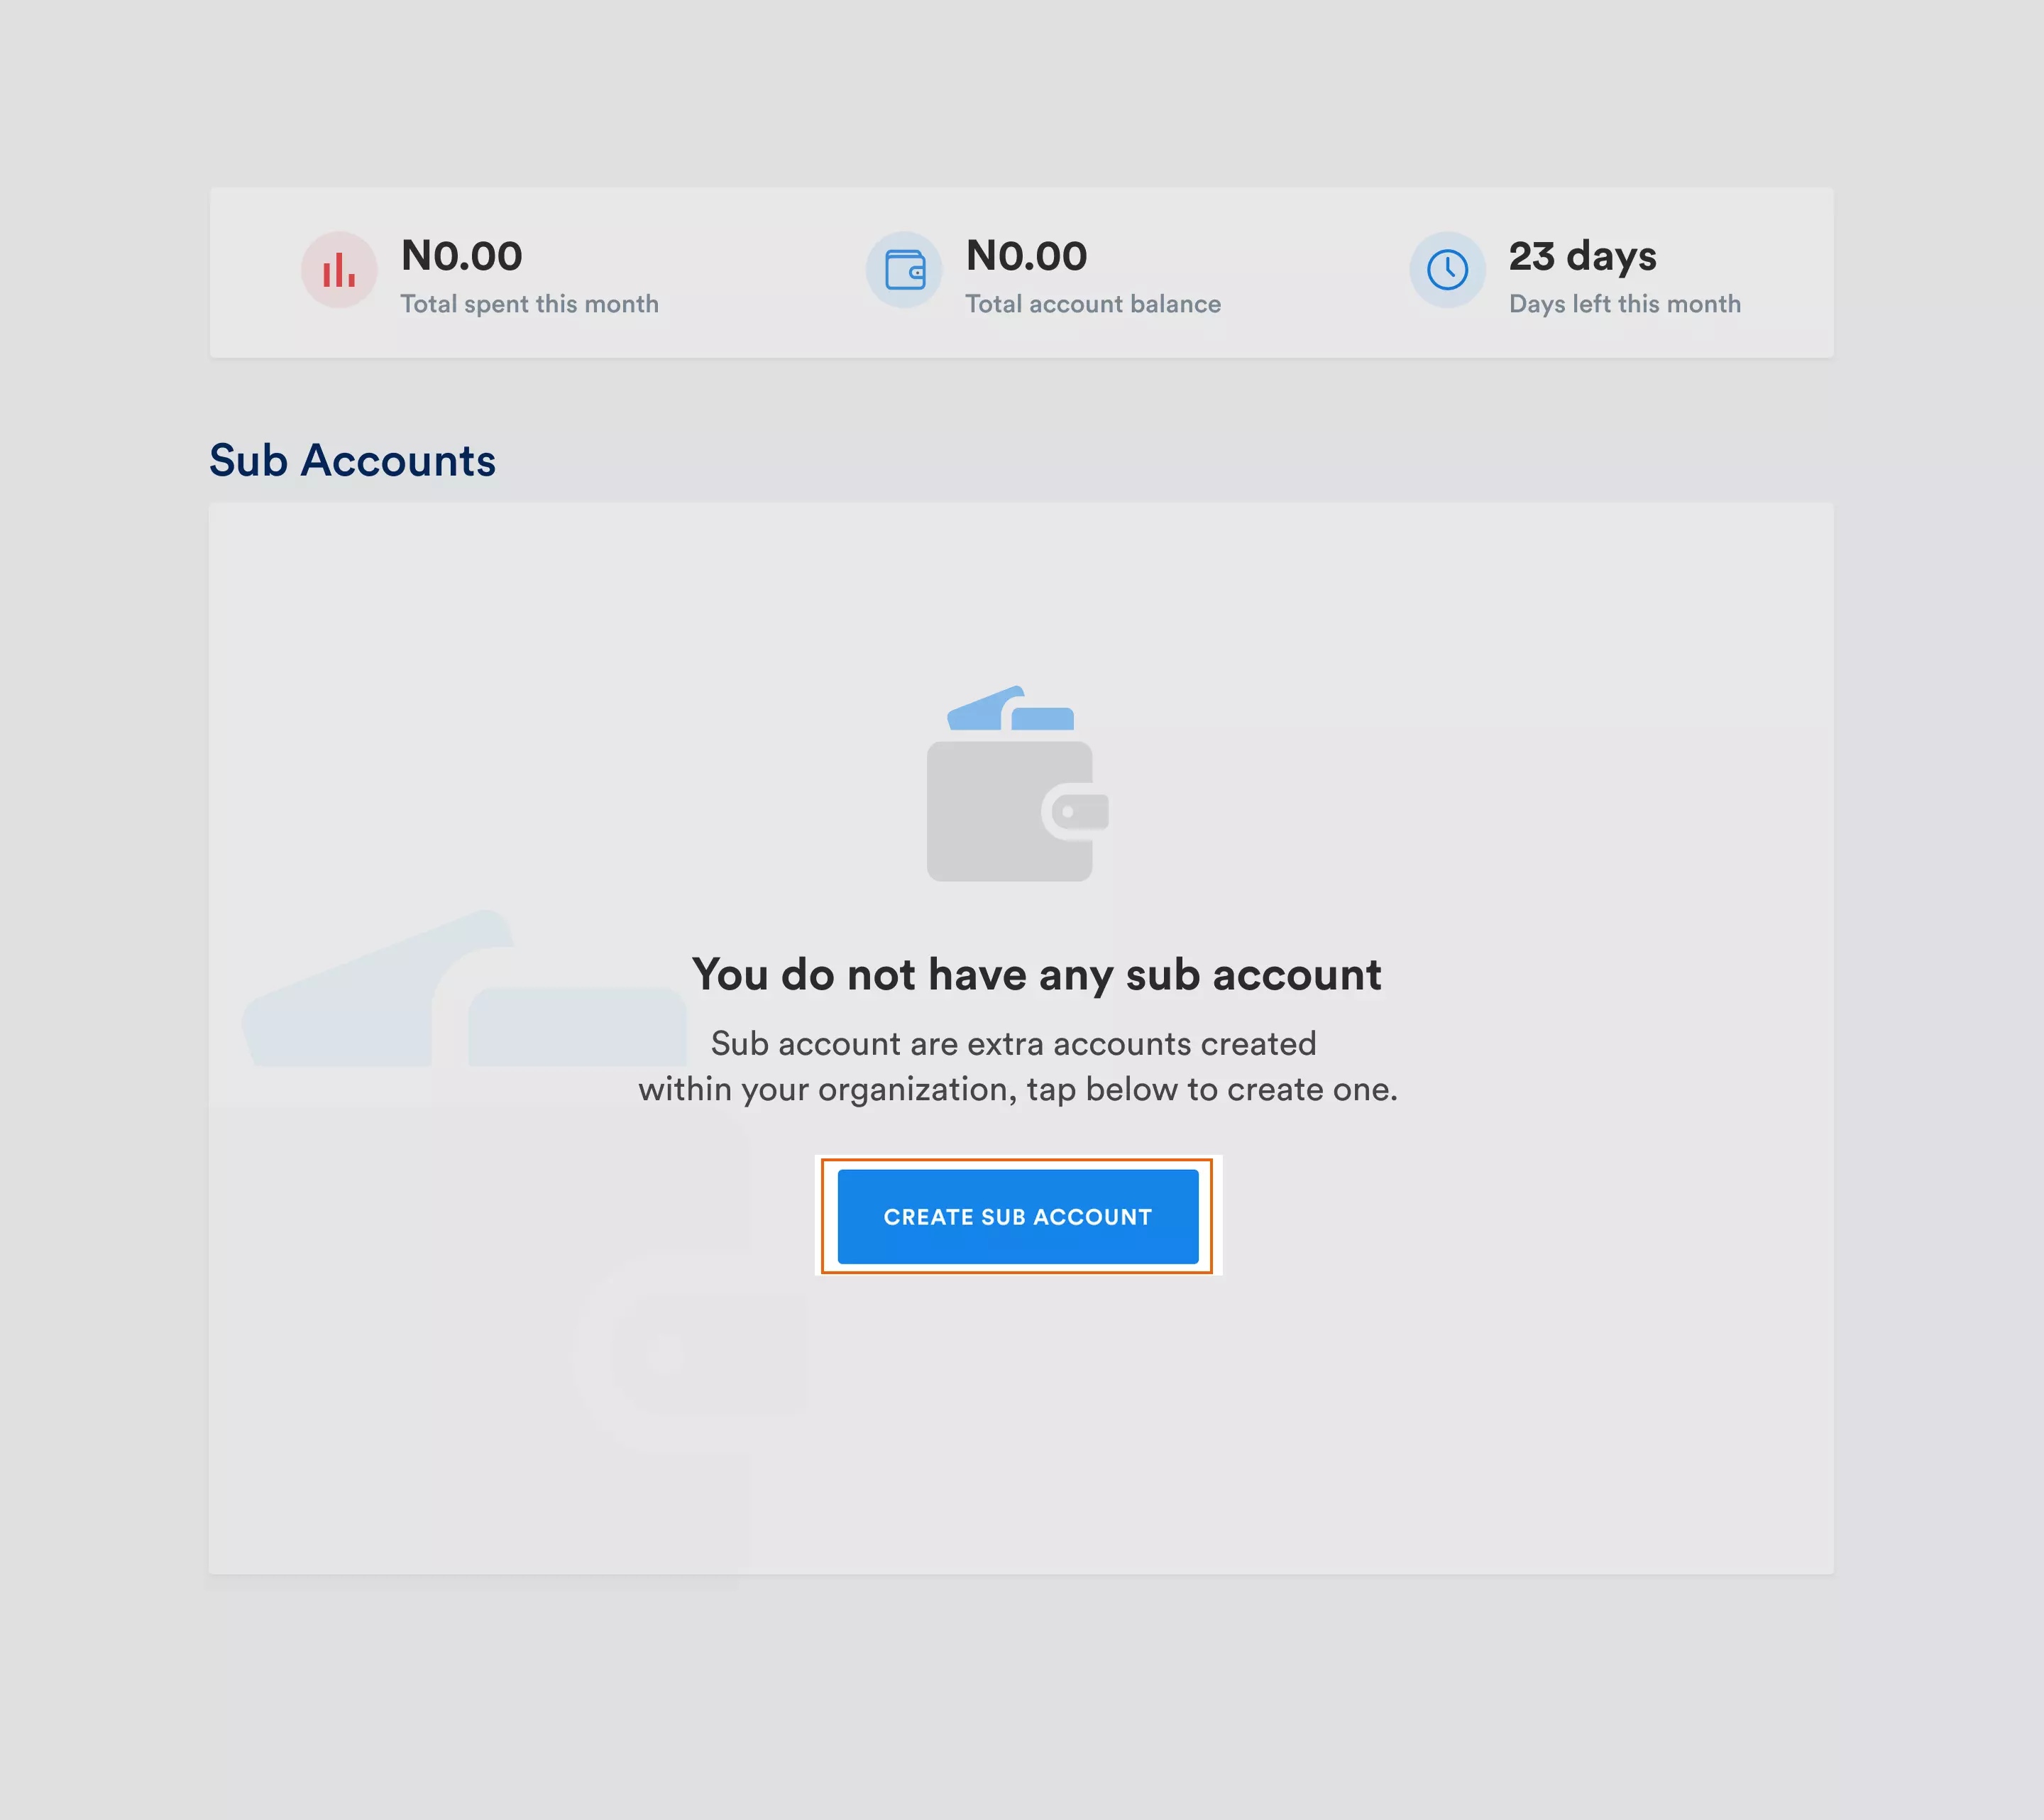
(iii) On the Sub Account page, Click on the "Create Sub Account" button.
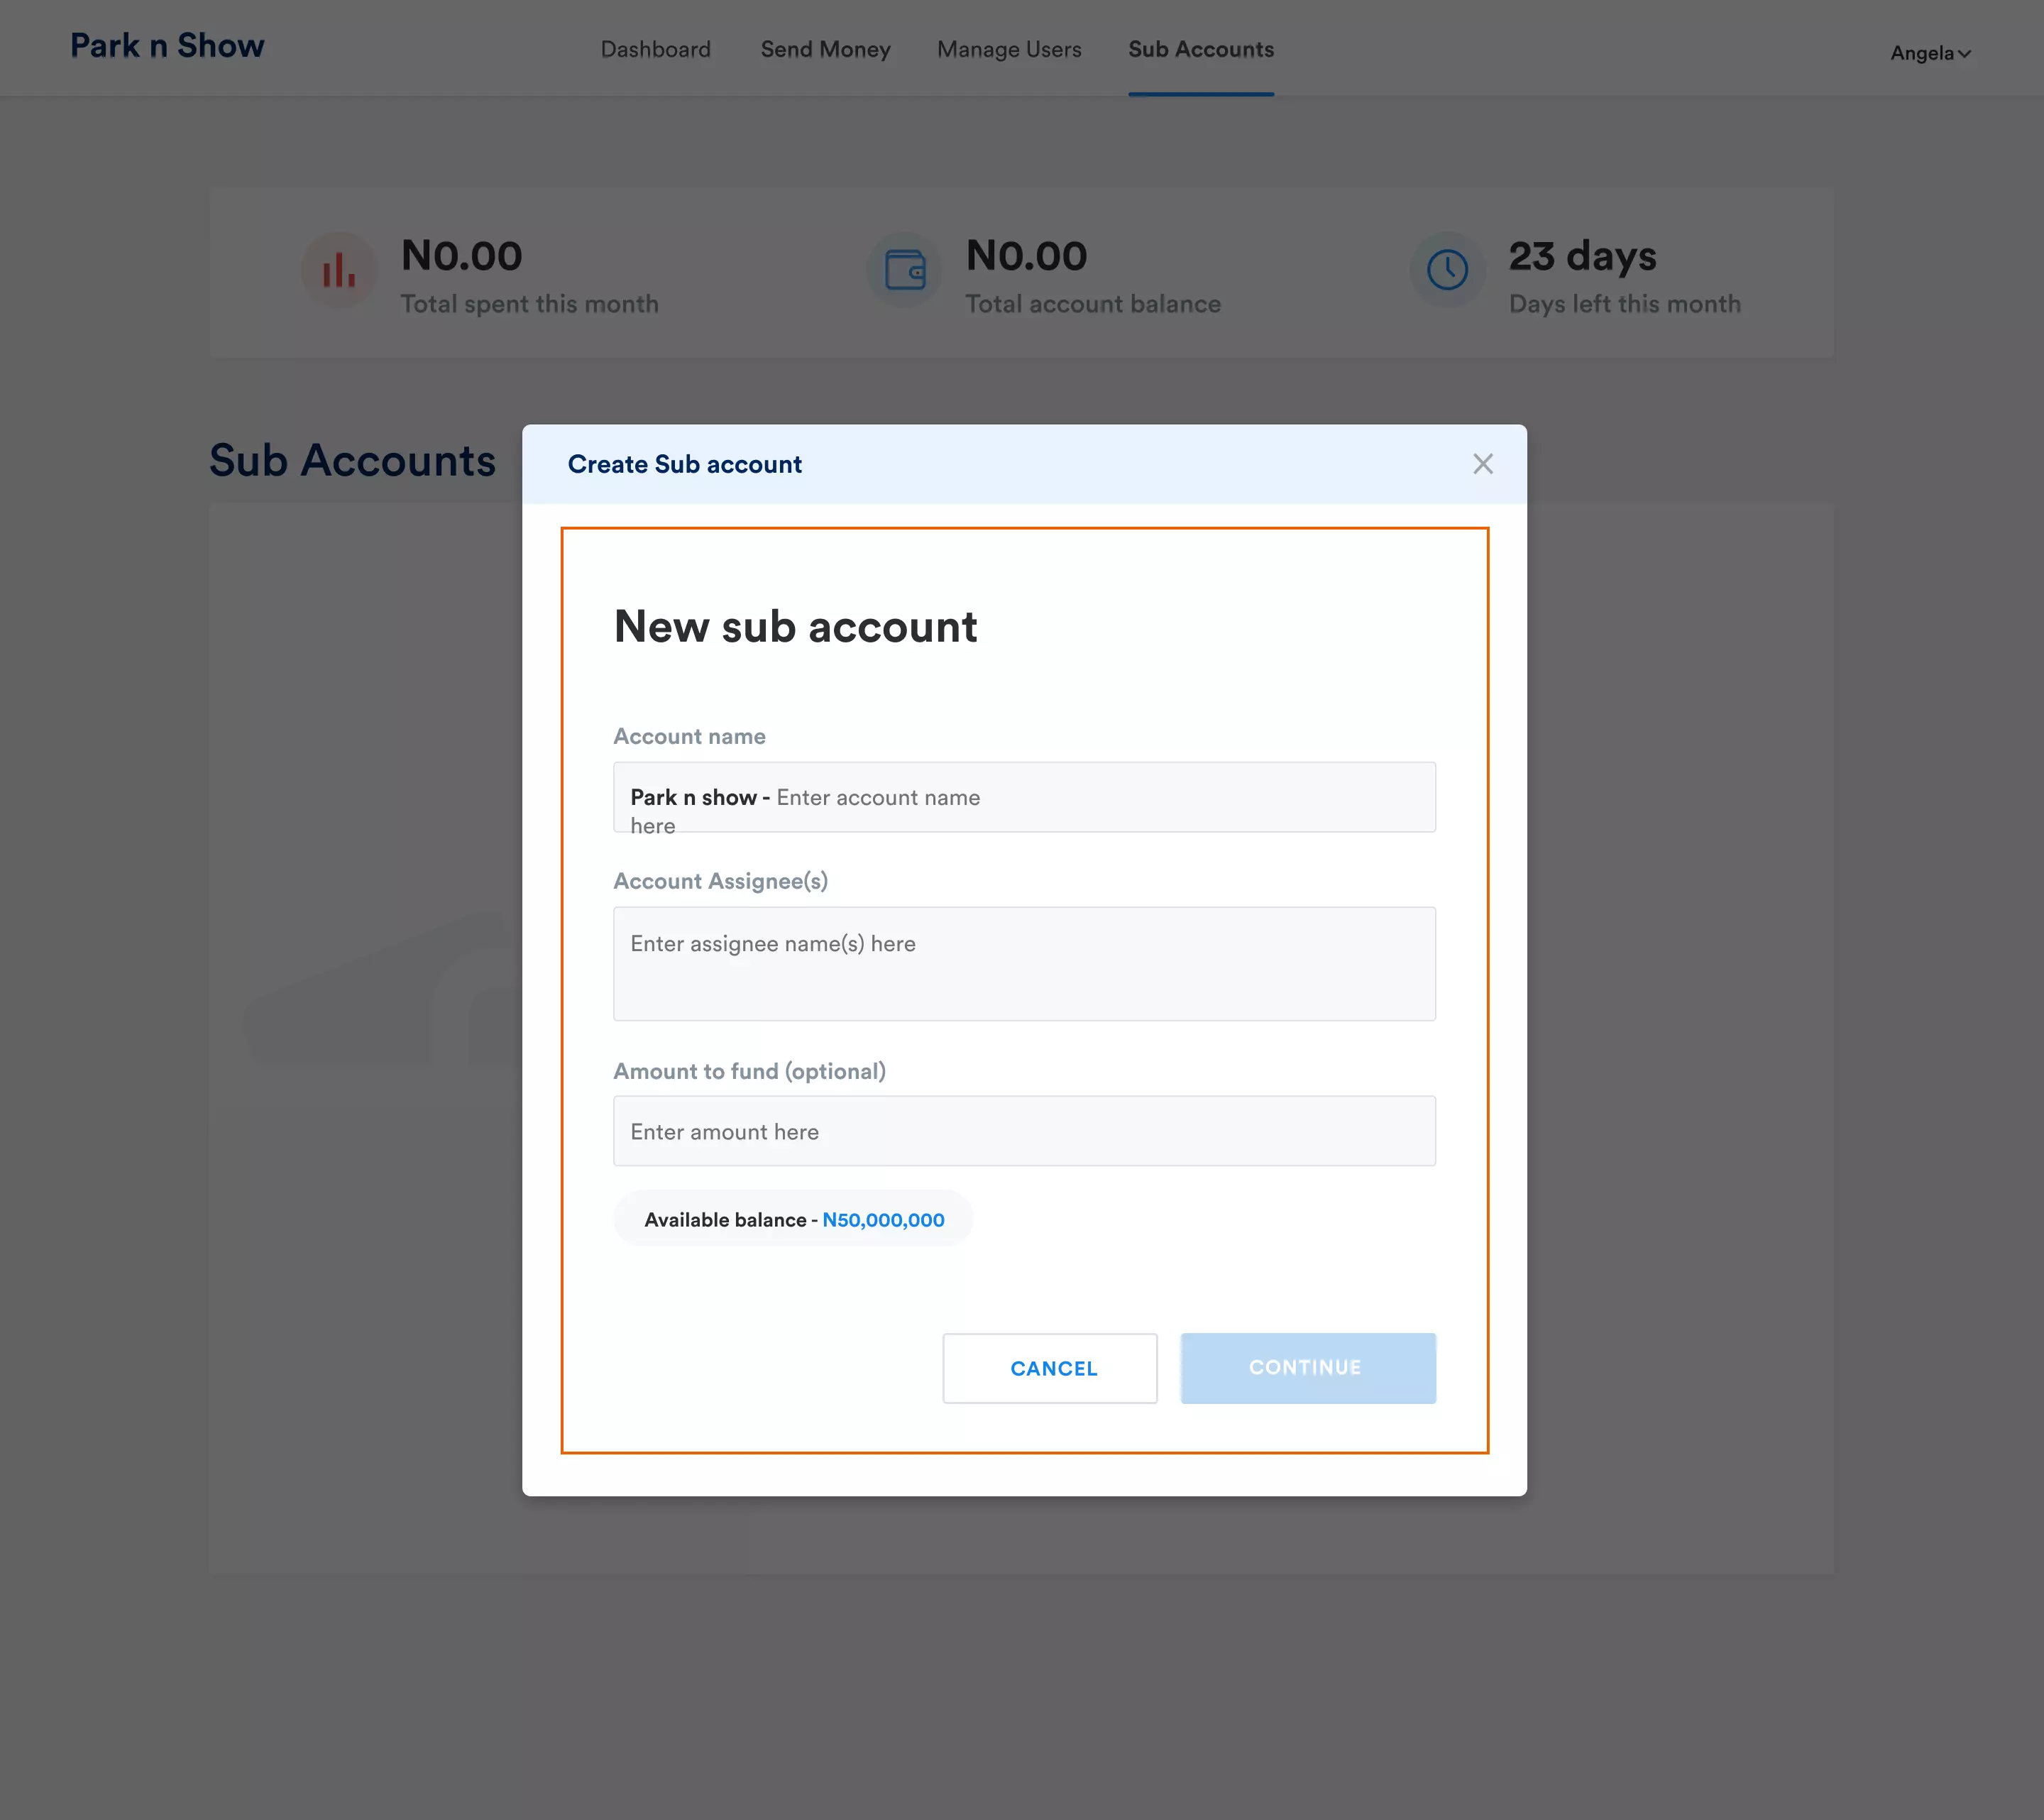
(iv) Fill out the required information in the form, including the Account Name and Account Assignees.
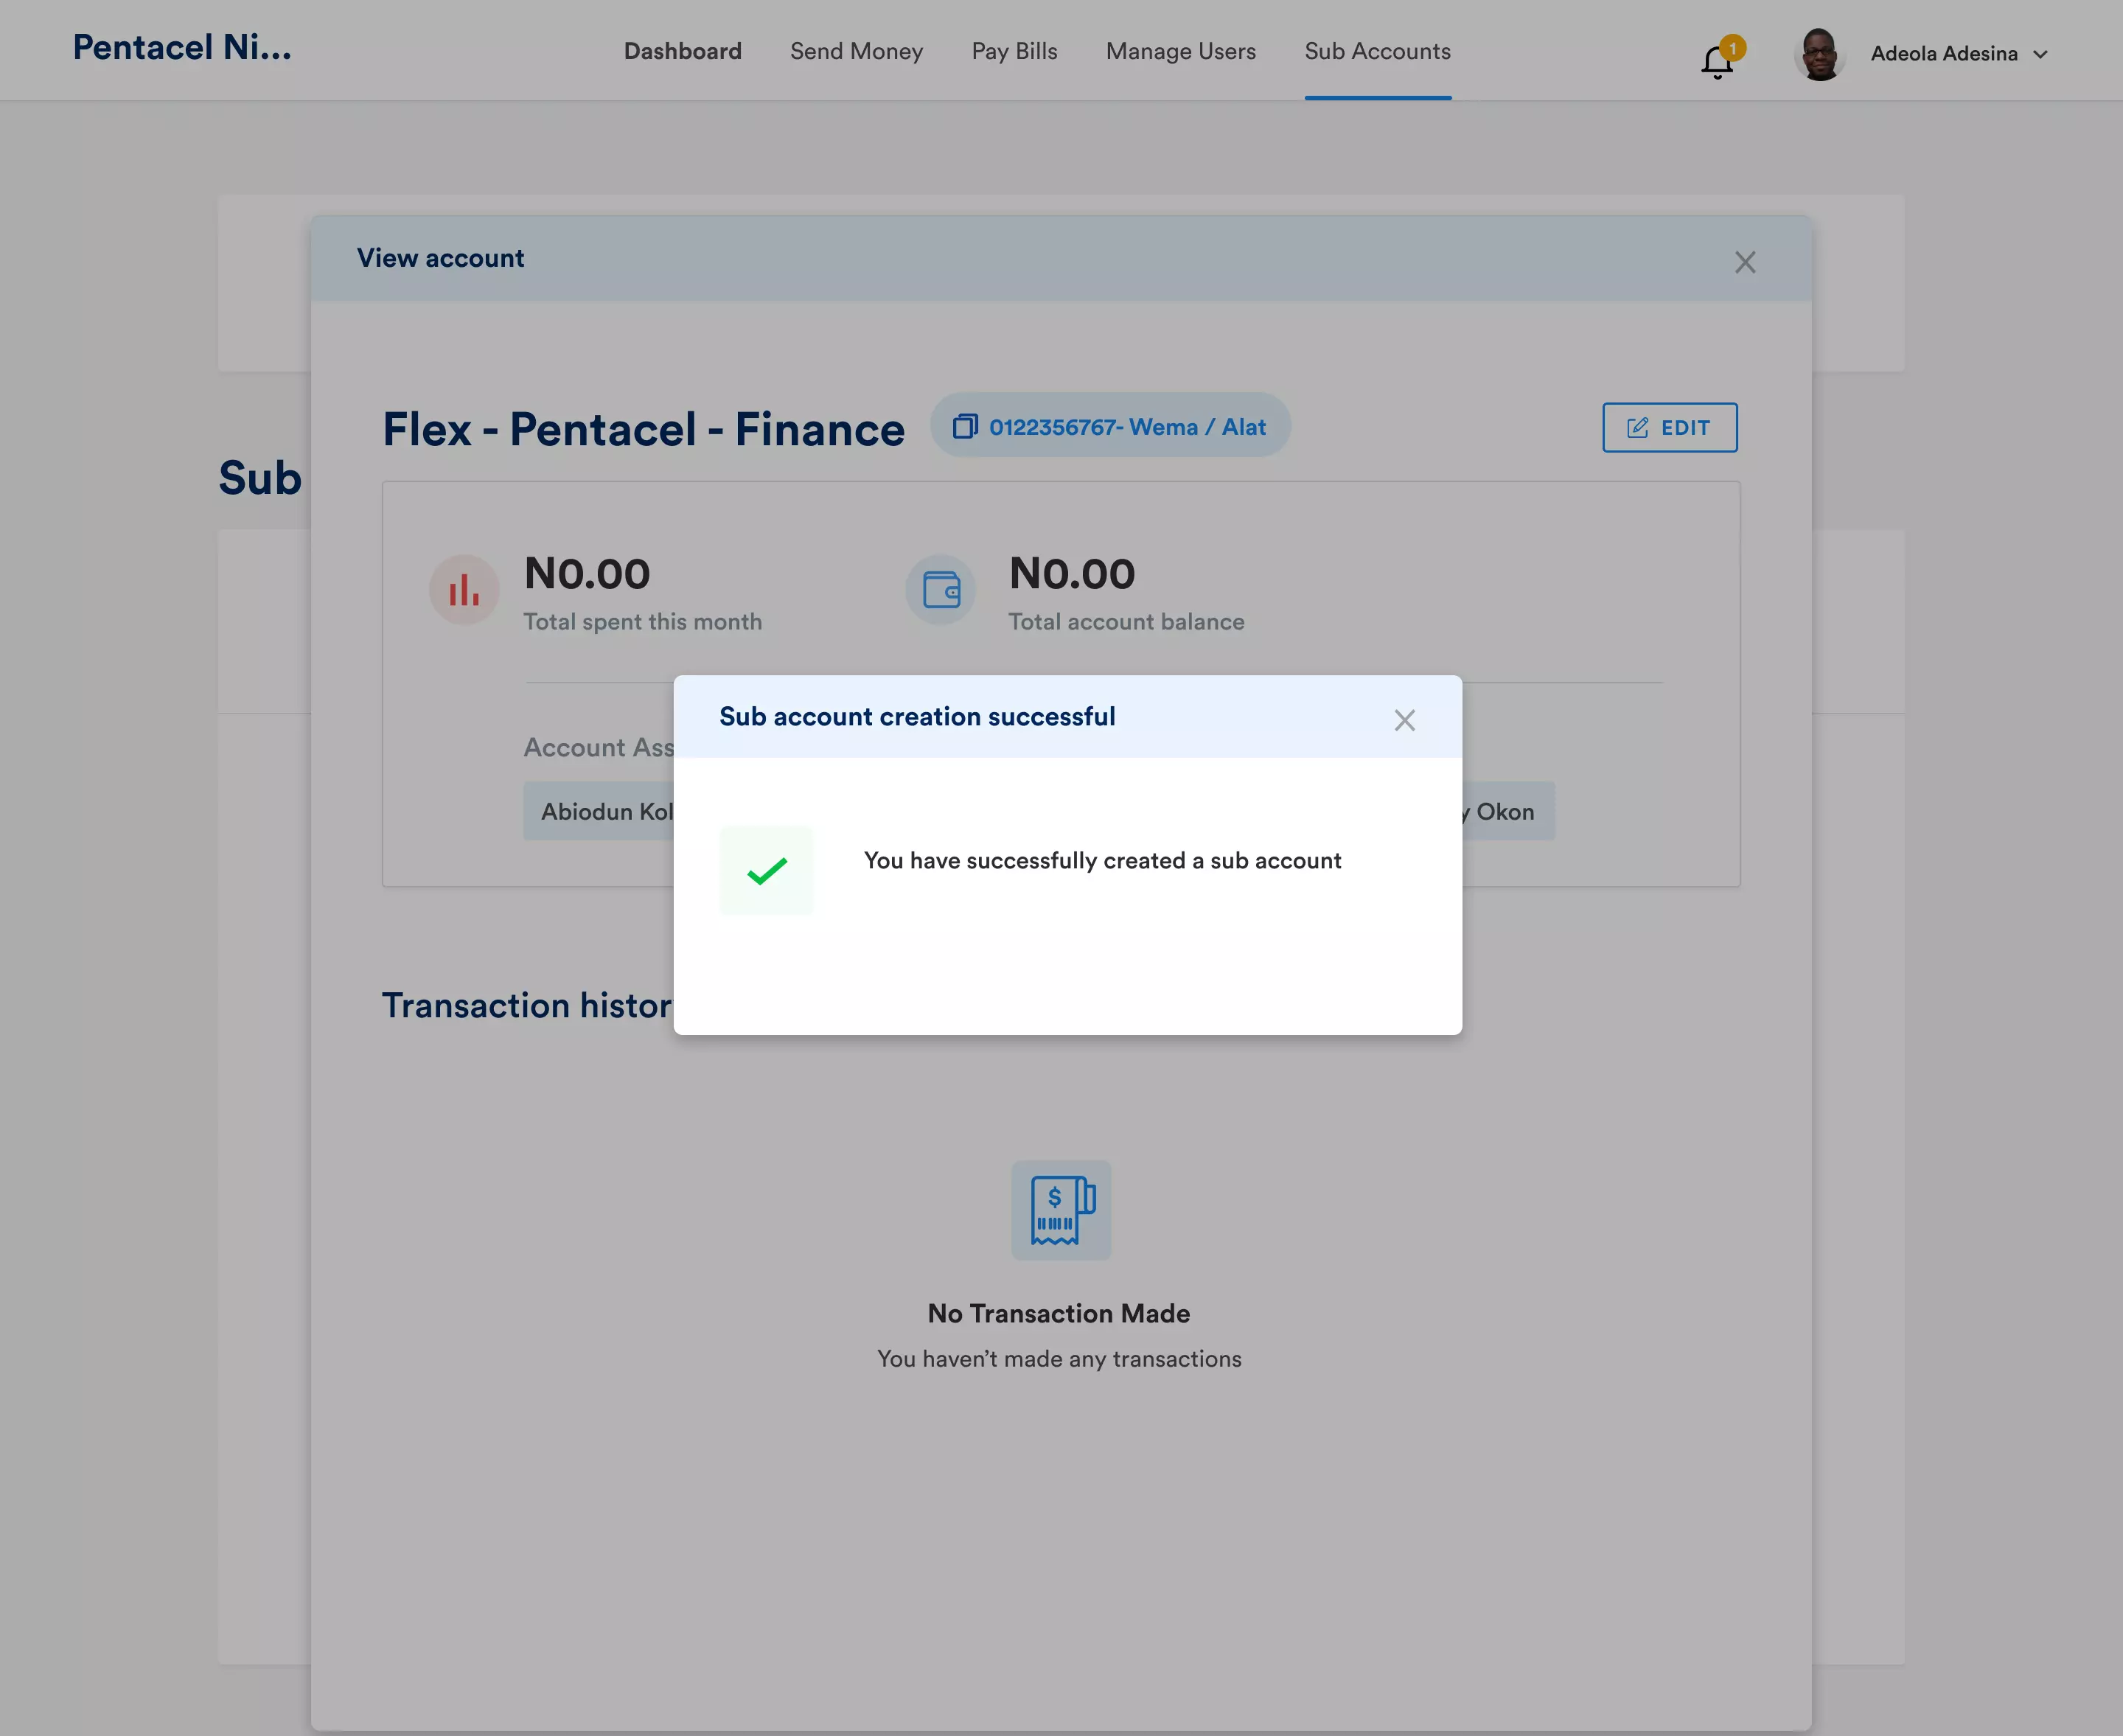
(v) Click "Continue" to proceed with the creation of the sub-account.
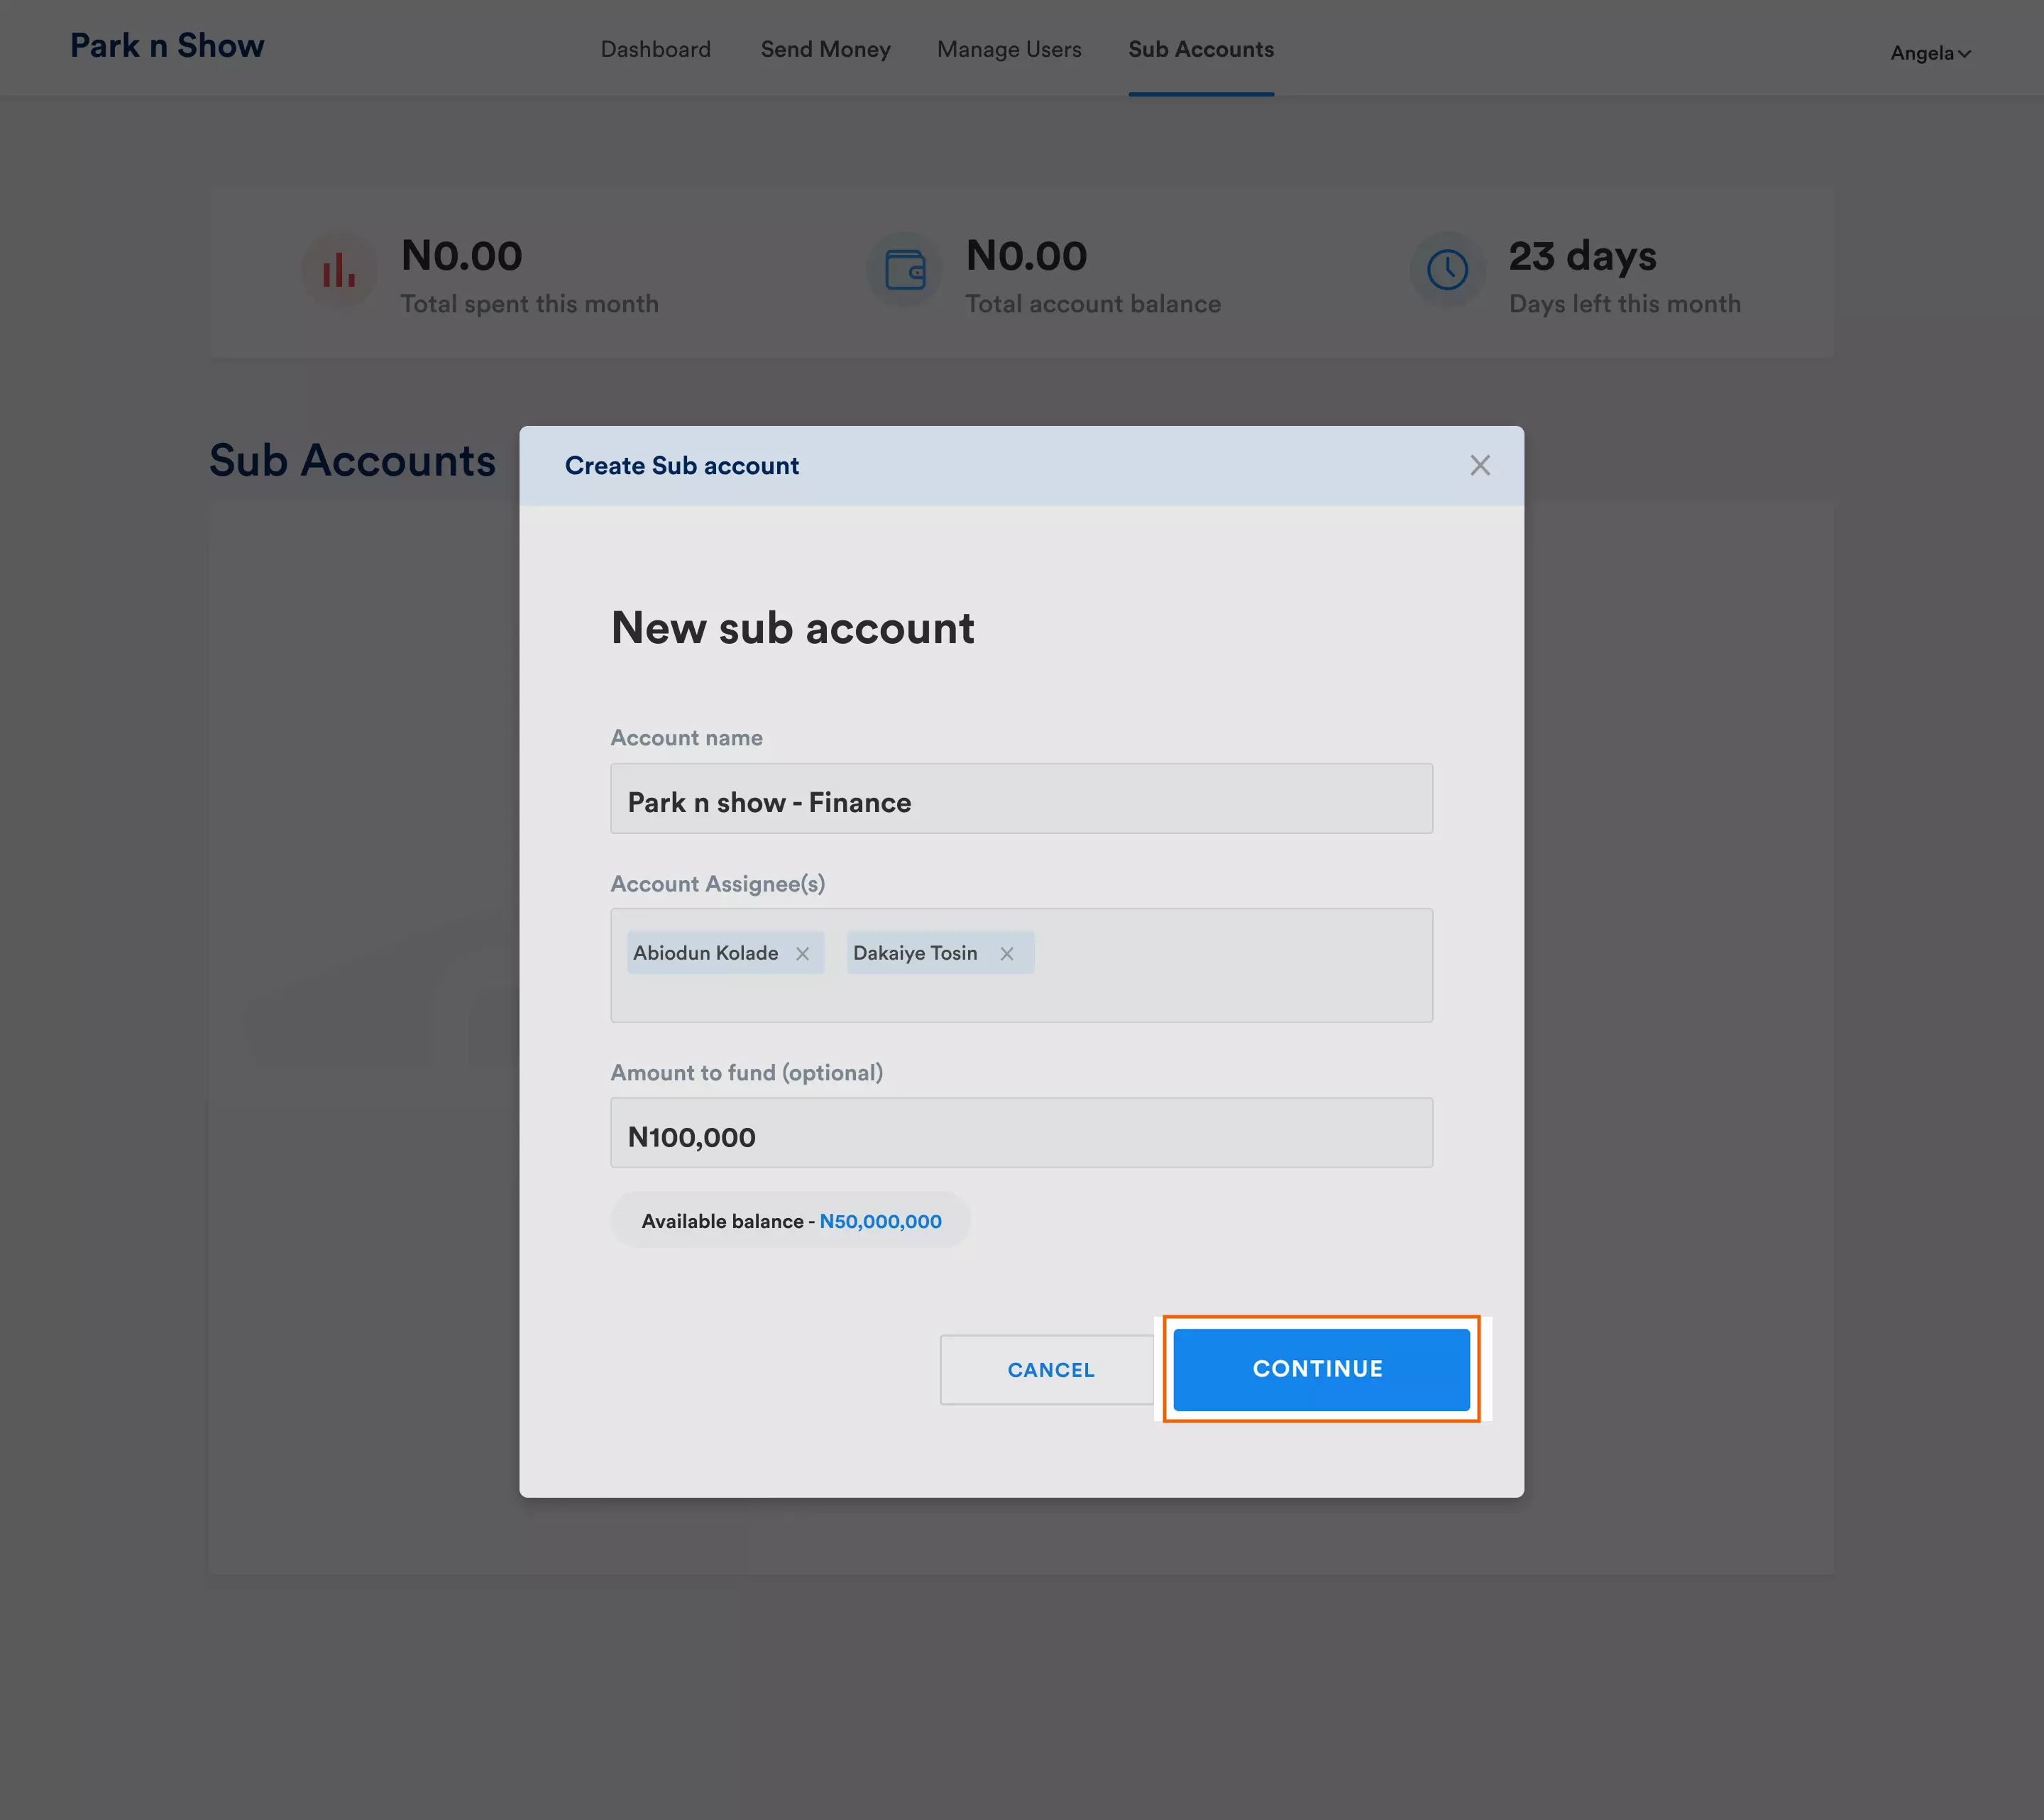
That is it; you will receive a notification confirming the successful creation of the subaccount.
2. Viewing a Sub Account:
(i) Log in to the Flex dashboard with admin permissions.
(ii) Navigate to the dashboard and select "Sub Accounts" from the navigation bar.
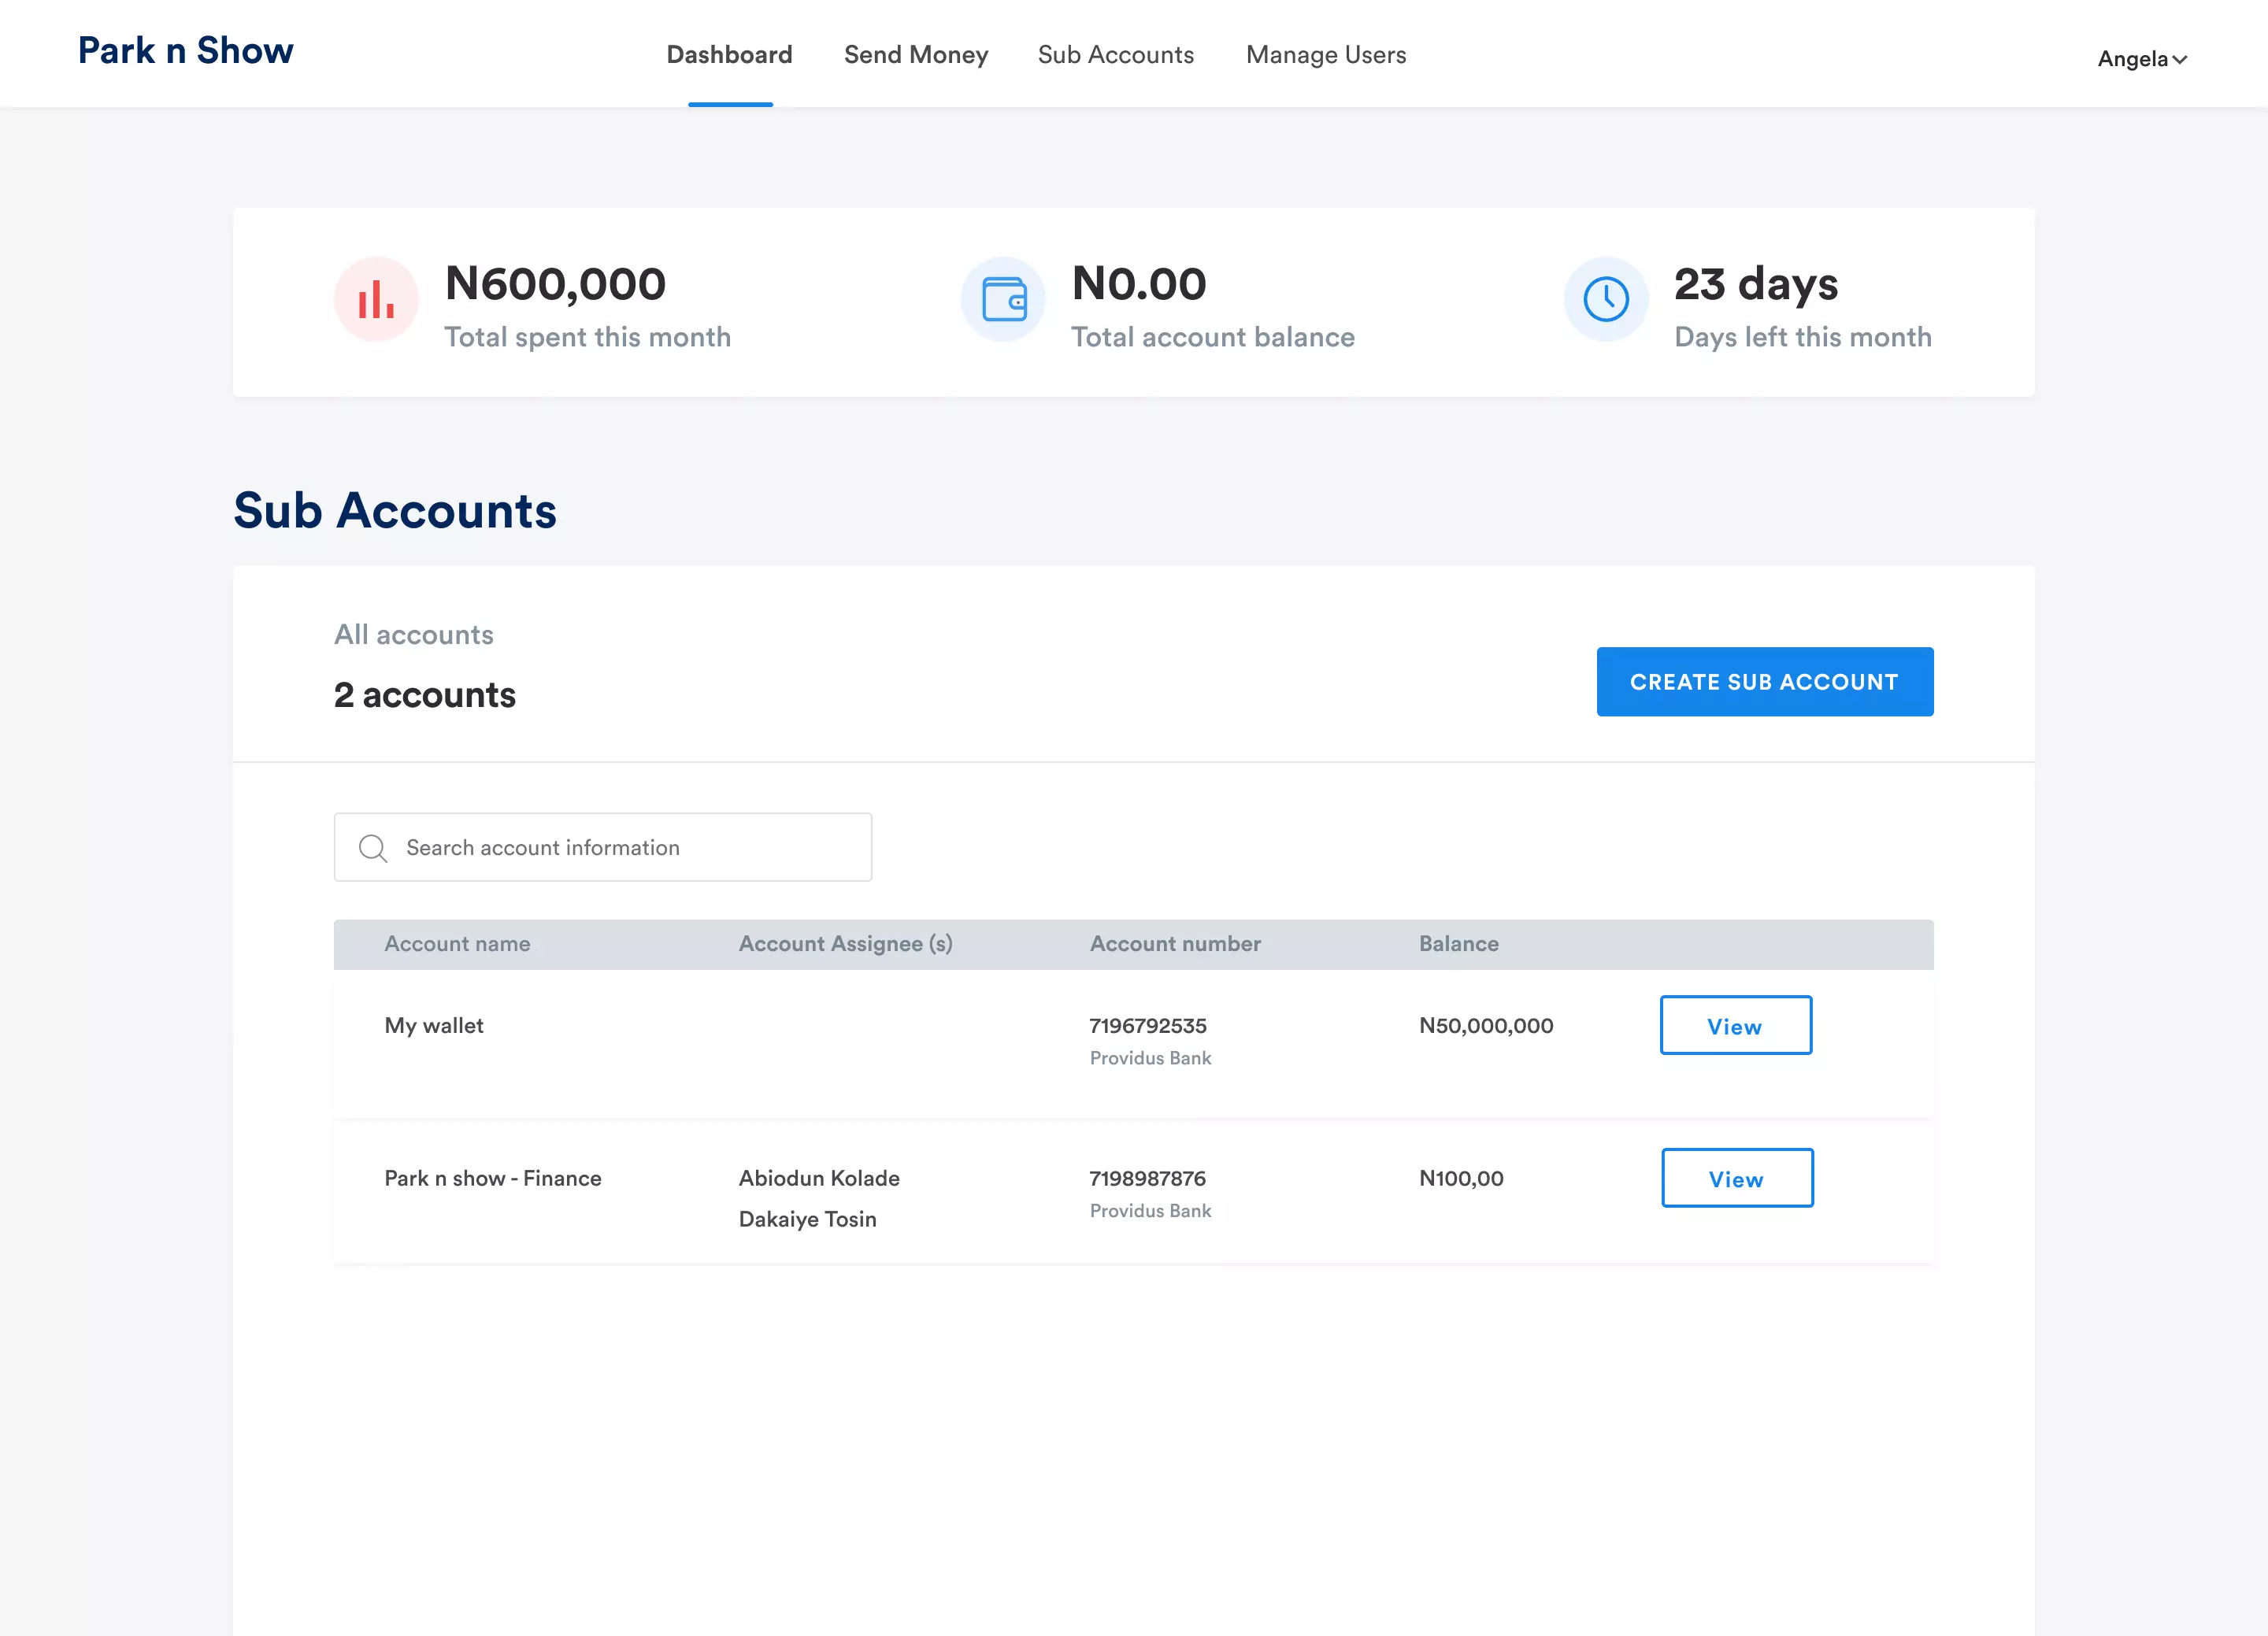
(iii) On the Sub Account page, view the list of all existing sub-accounts.
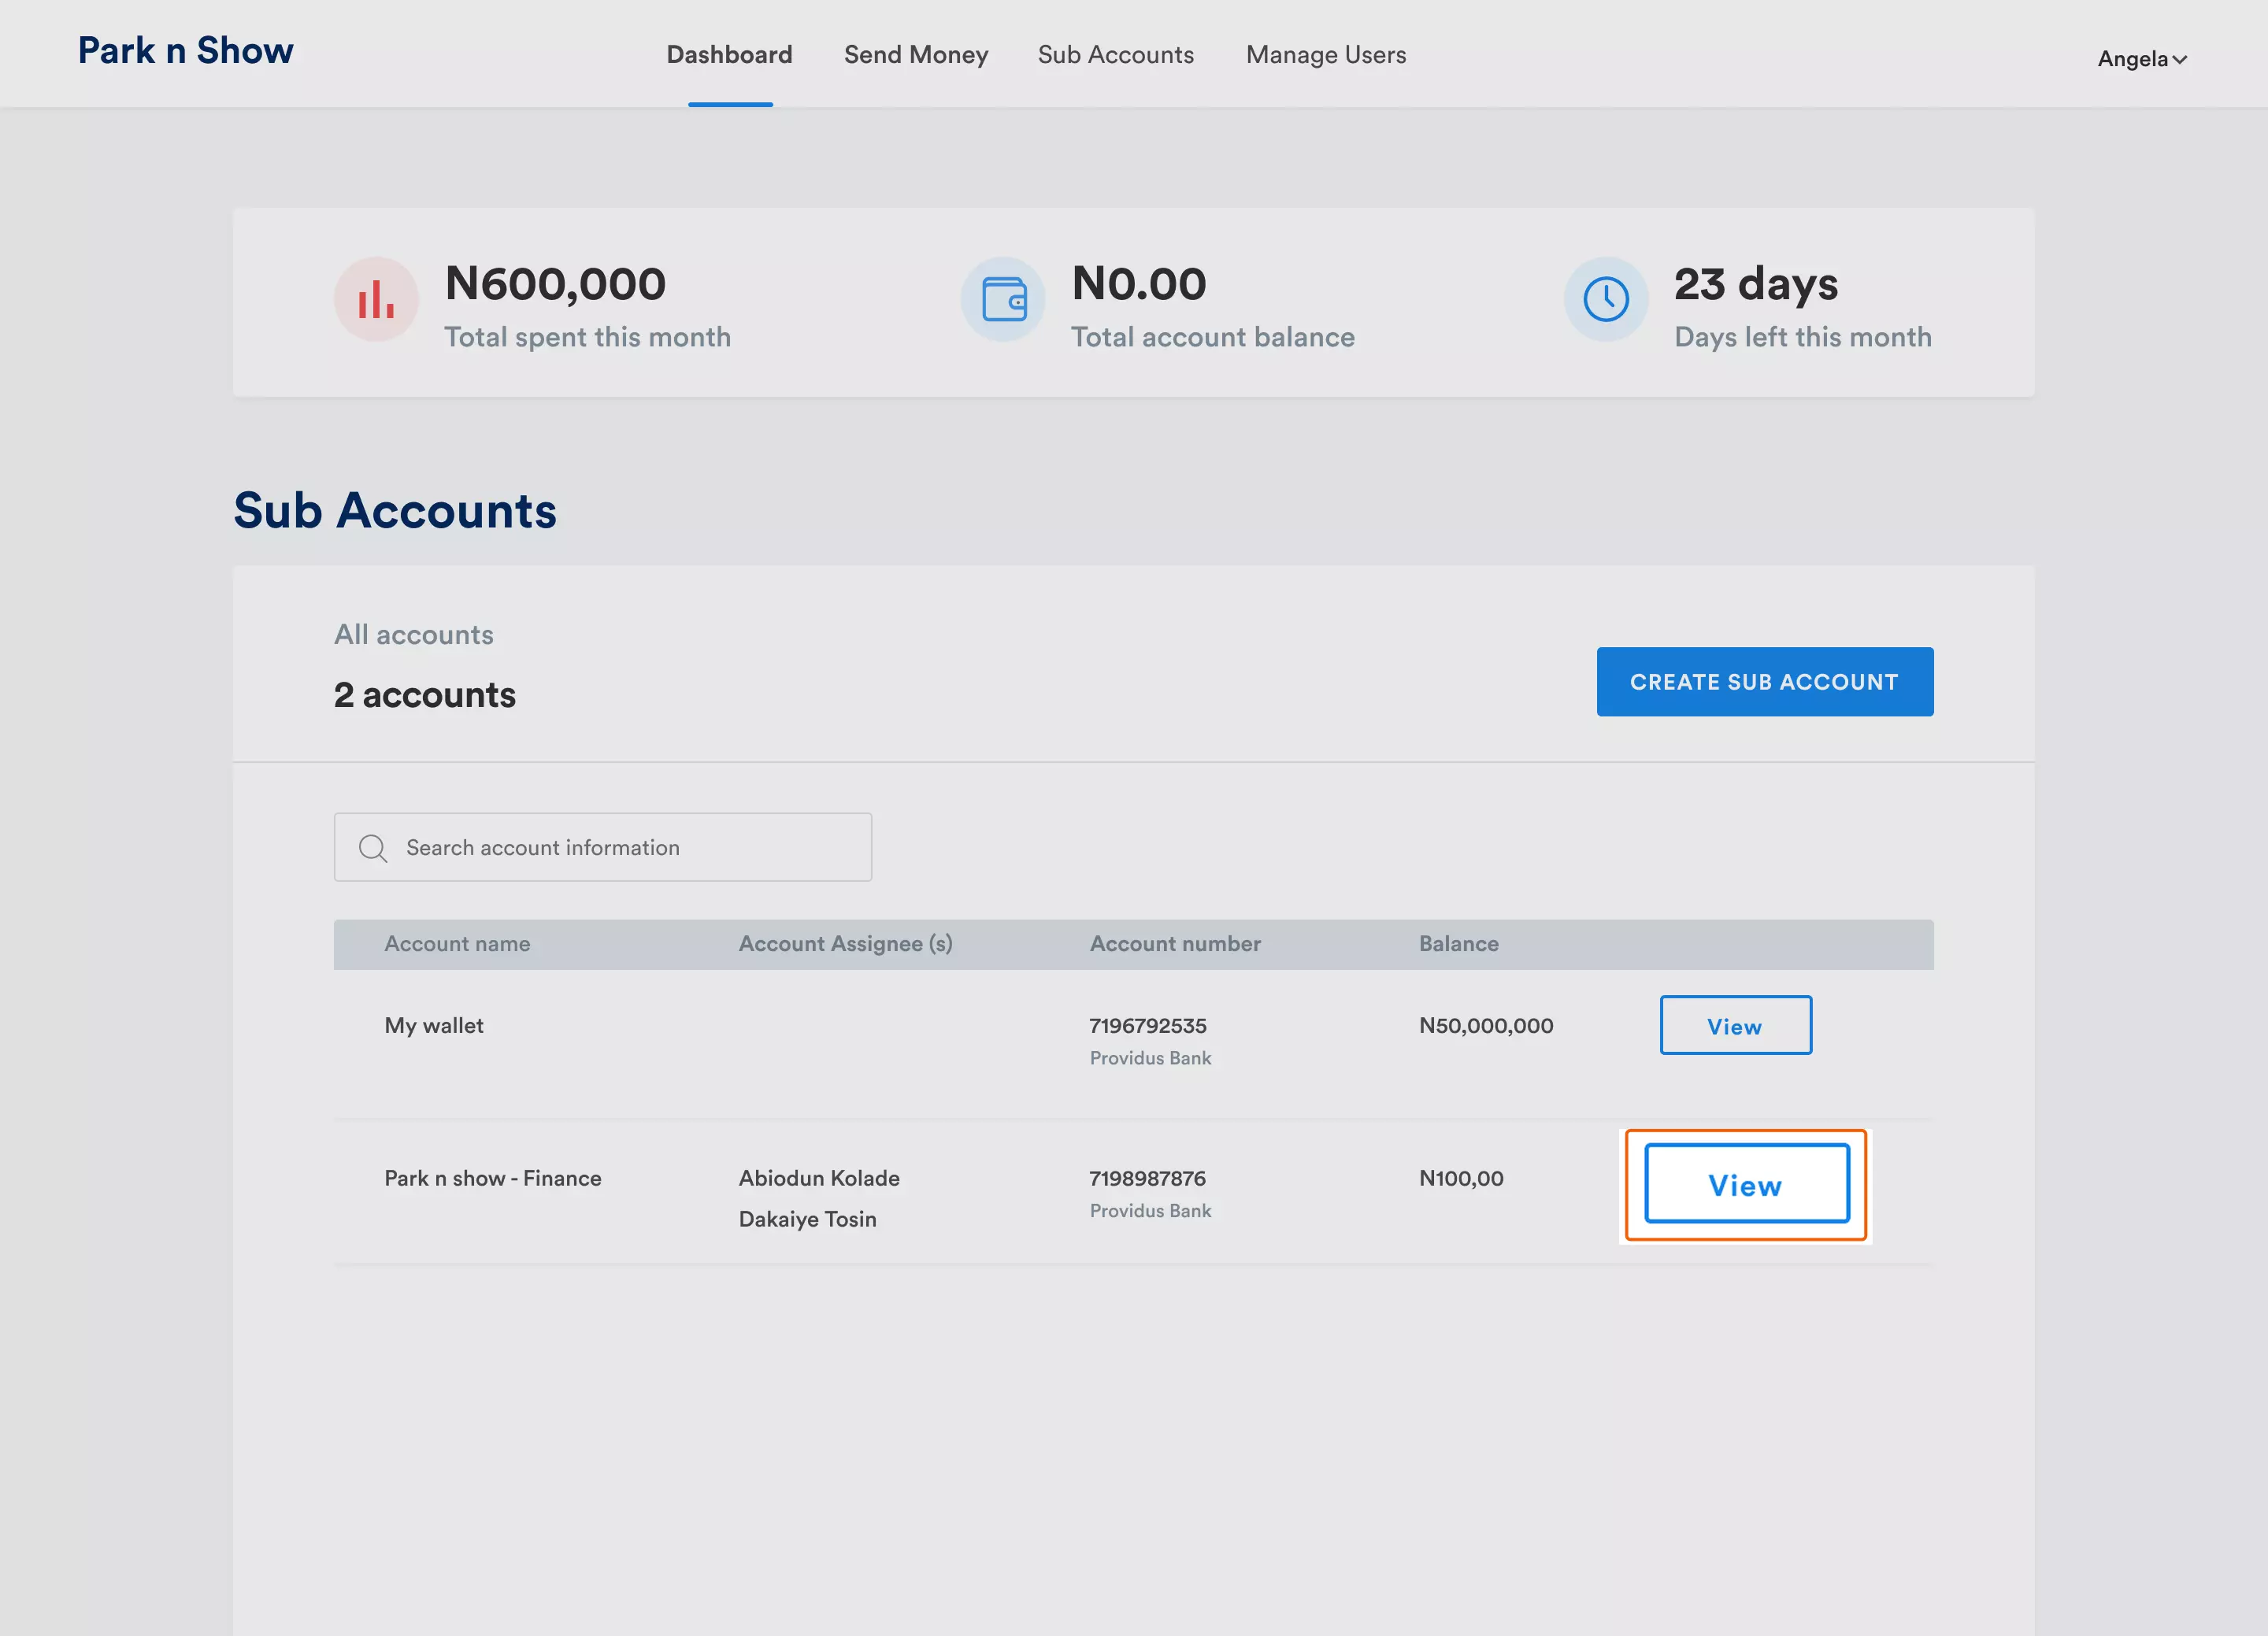
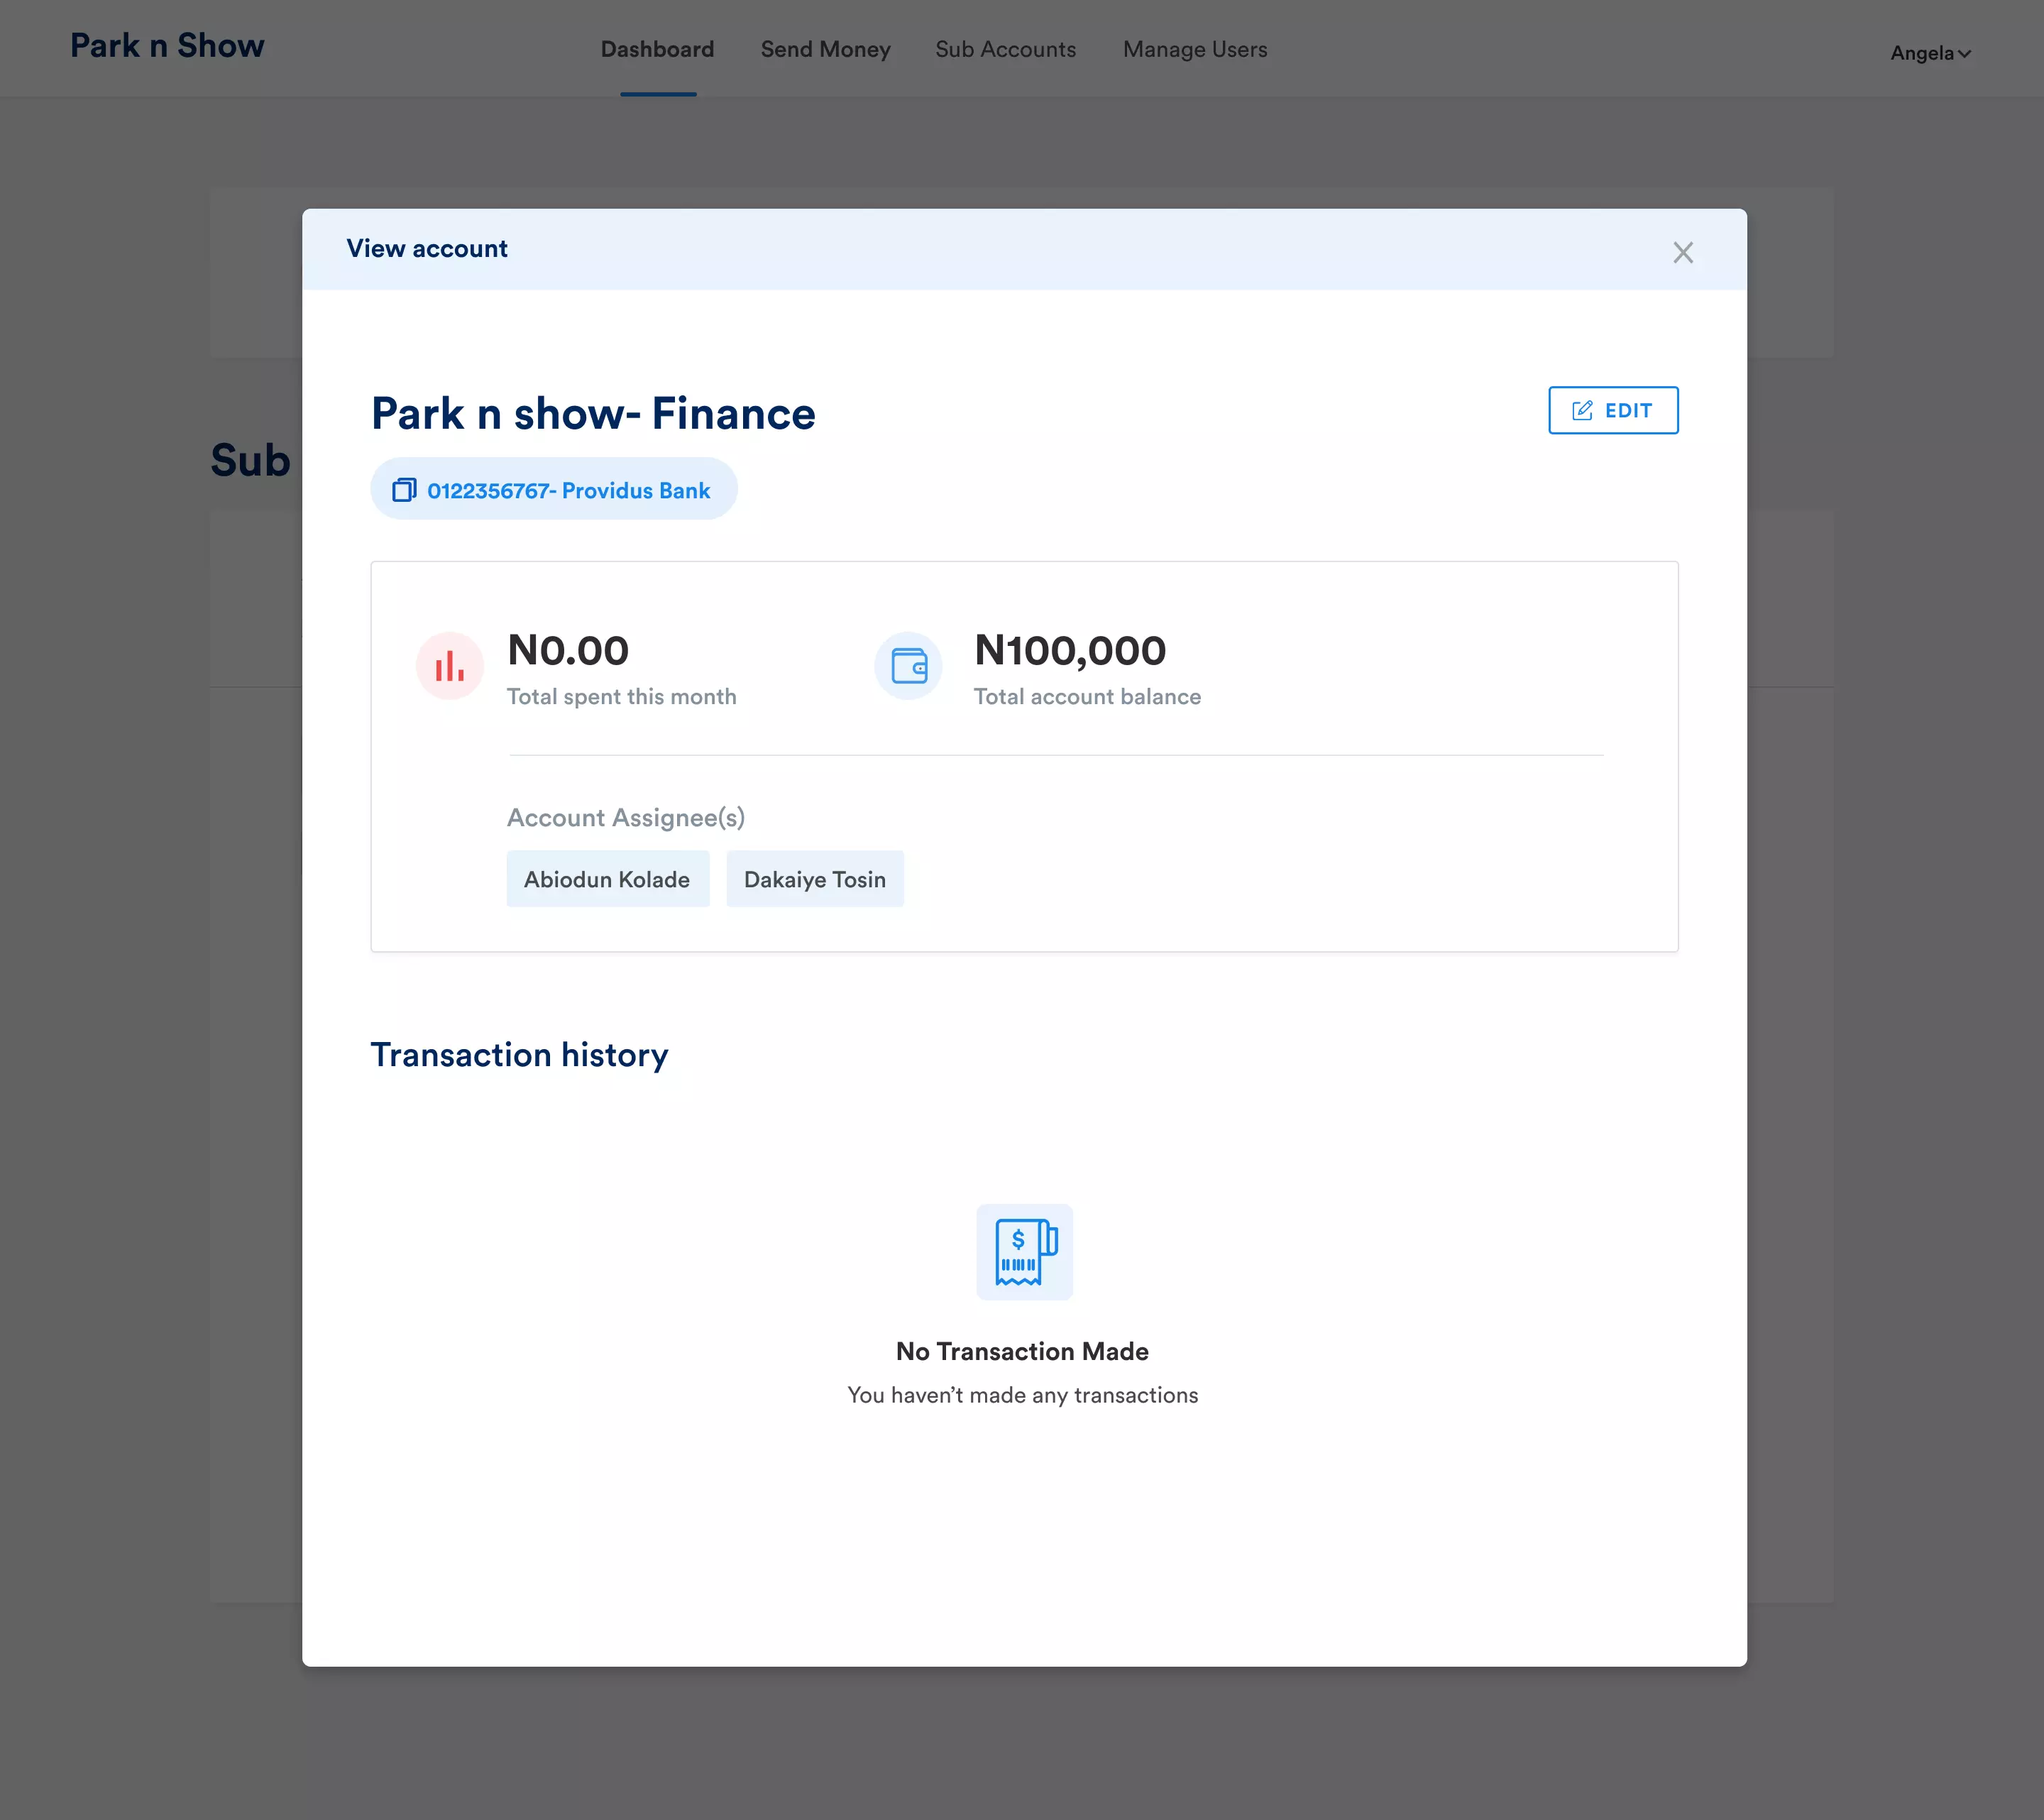
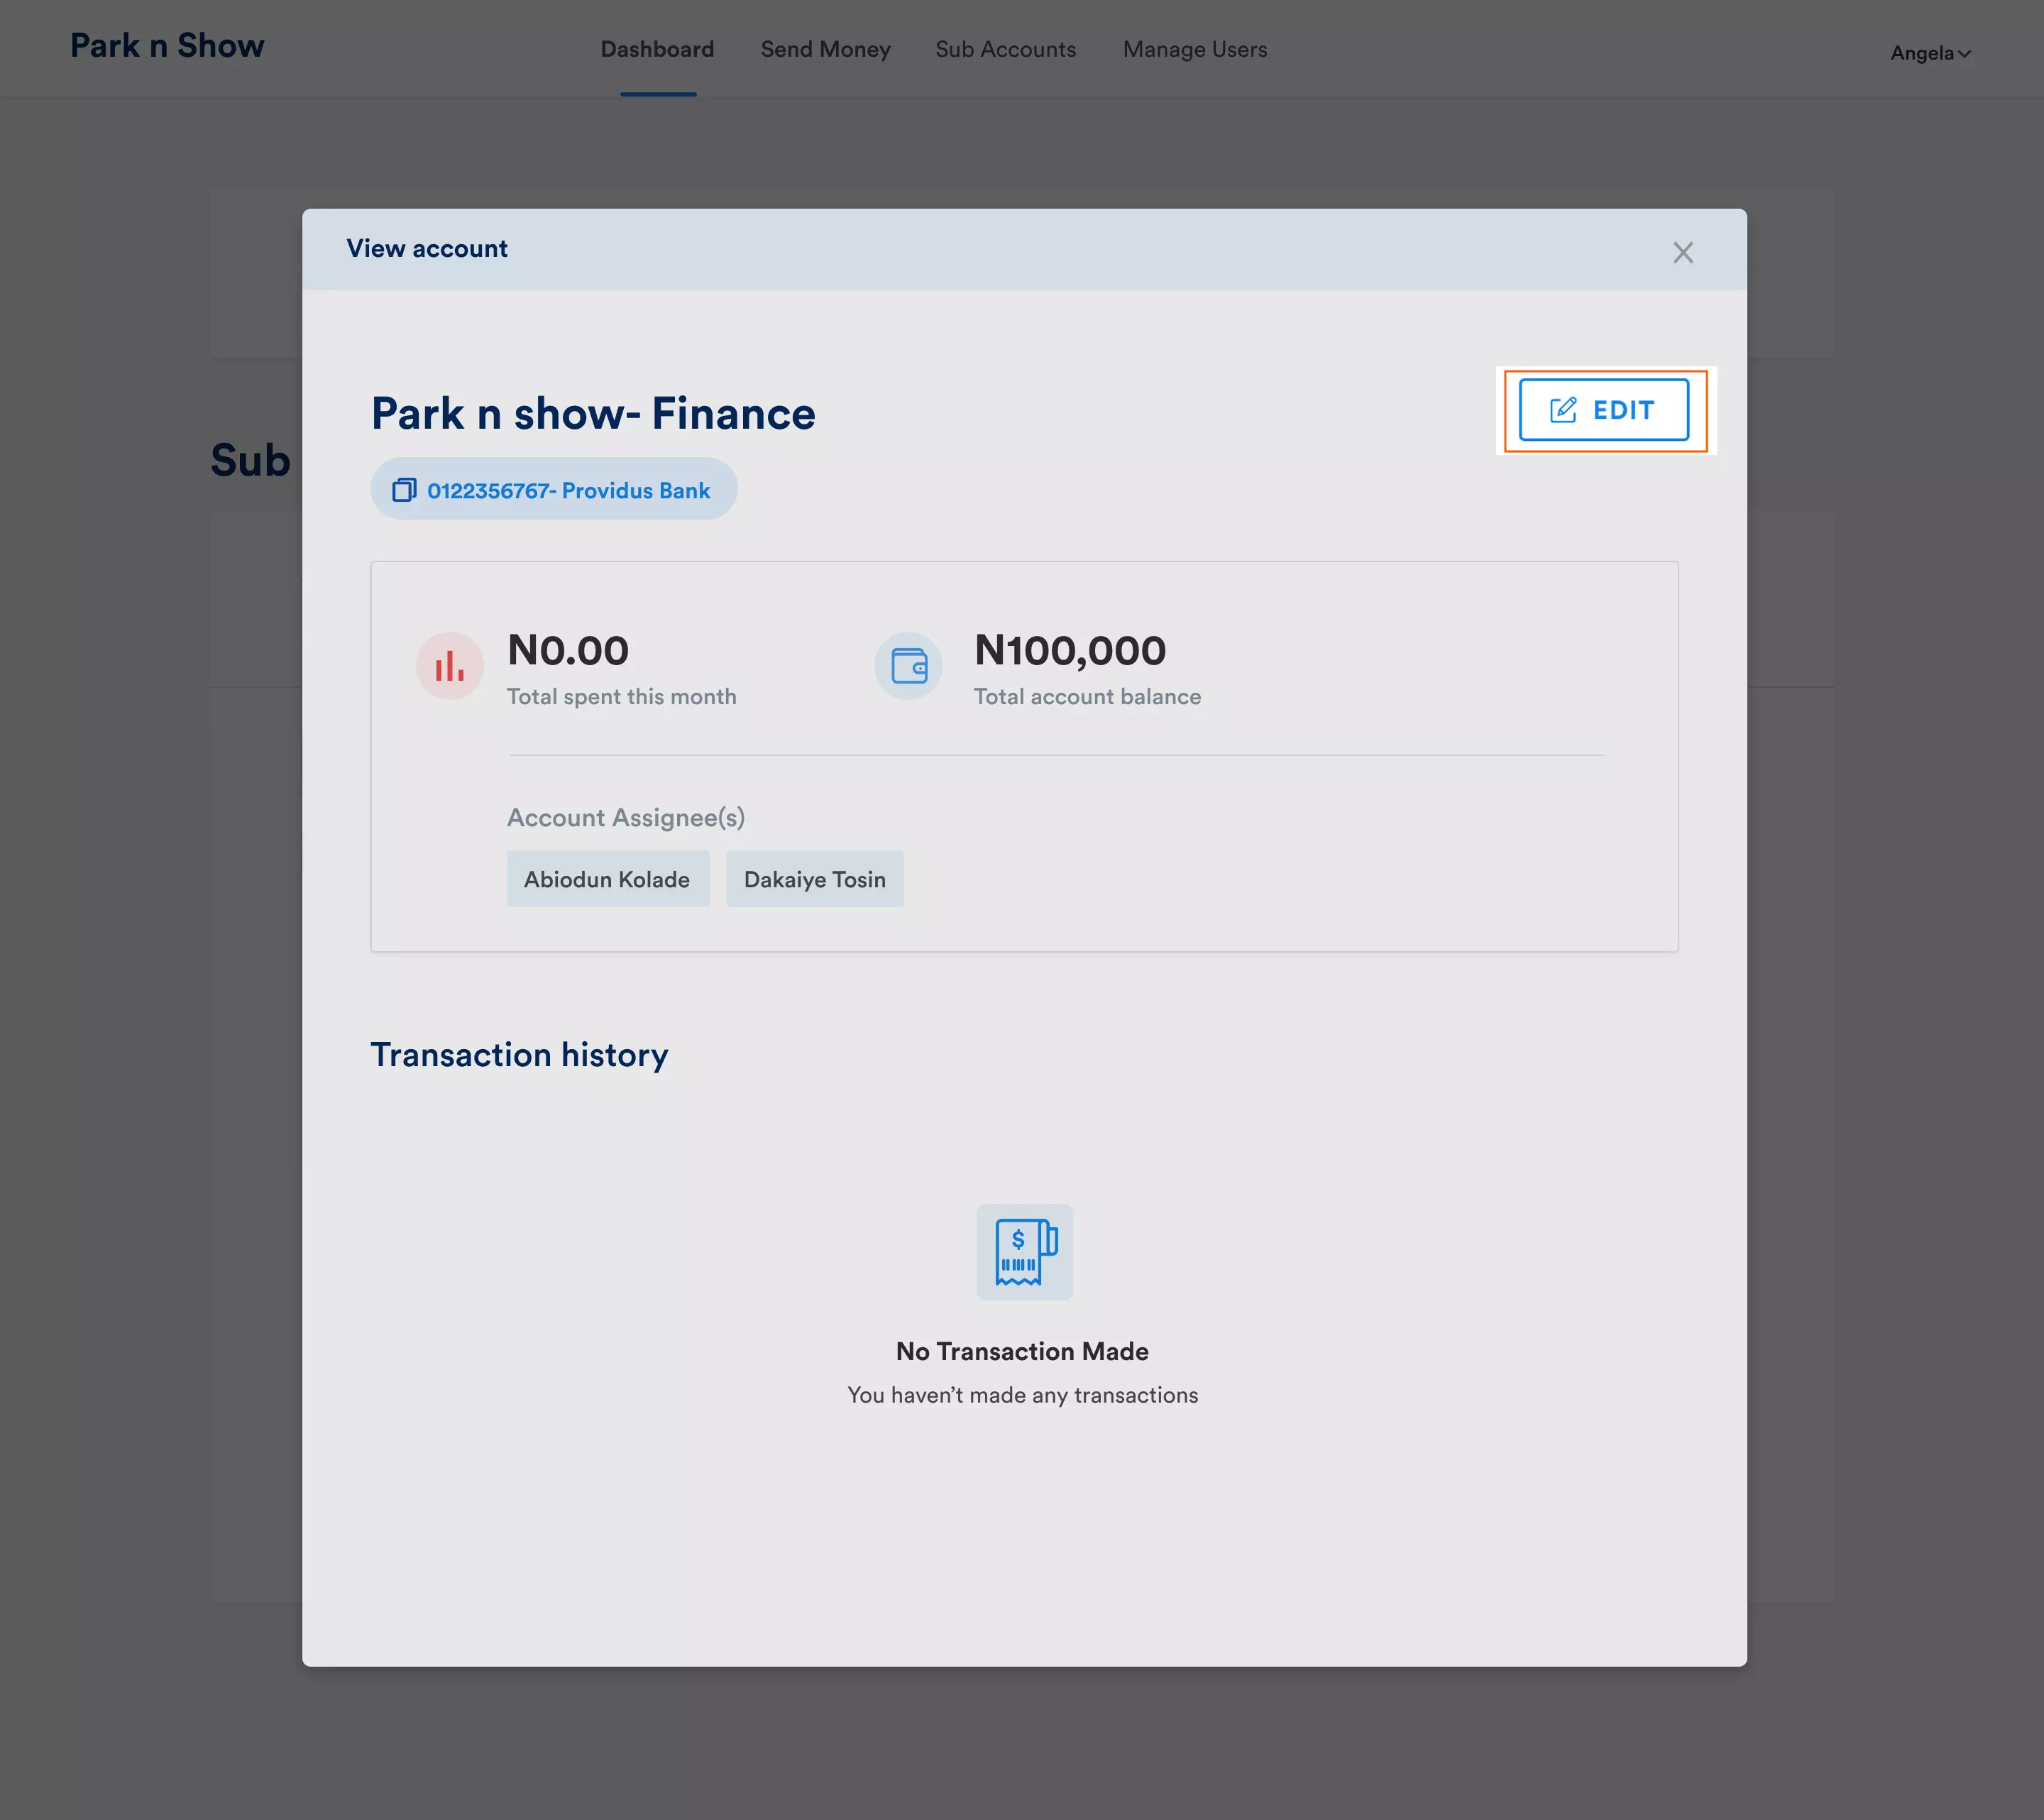
(iv) Click the "View" button next to a specific sub-account to access its details.
Explore the provided details, including Sub Account Name, Account Number, Assigned Employees, and Transaction History.
3. Edit Sub-Account
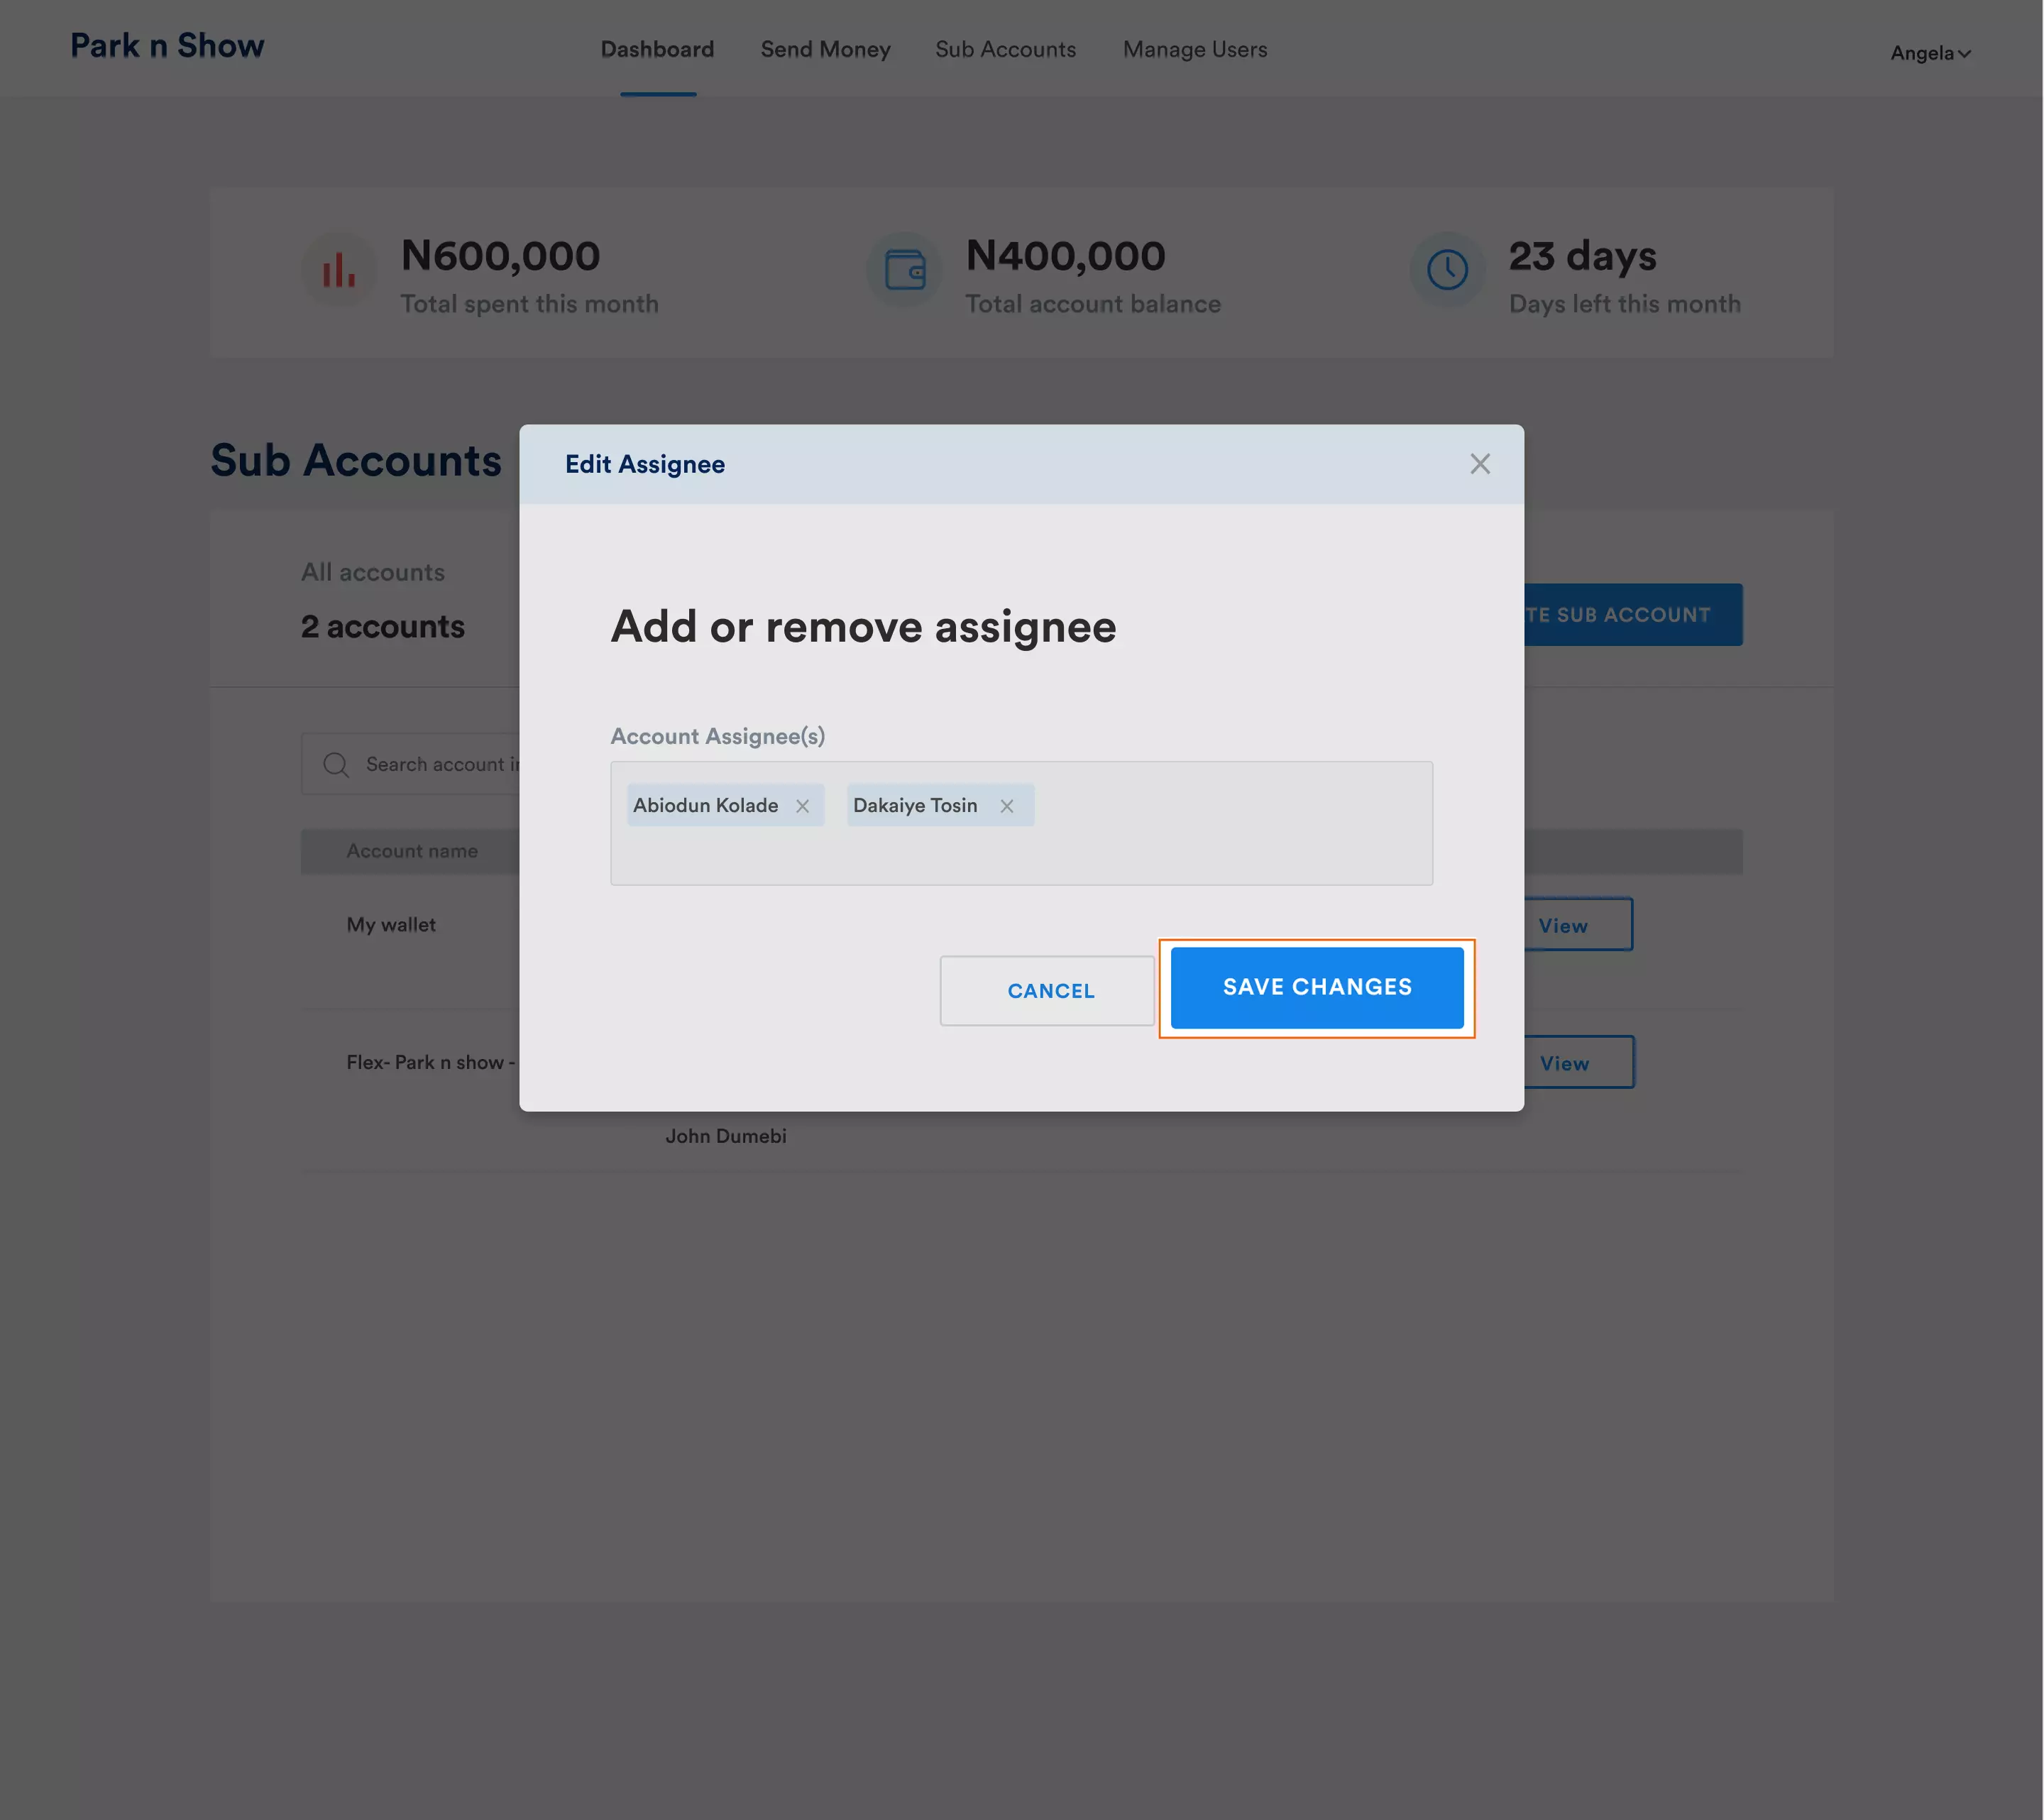
(i) To edit a Sub-account, Click the "Edit Sub Account" button at the top right within that subaccount.
(ii) In the pop-up window, add or remove assignees for the Sub-account.

(iii) Save the changes by Clicking "Save" and receive a notification confirming the successful editing of the sub-account.
.webp)
The sub-account feature is also available on mobile📱so that you can manage them on the go.
Take advantage of the flexibility and control offered by Flex sub-accounts to optimize your financial workflows and drive efficiency within your organization.